7 Important Calculator Functions Algebra 1 Students Need

|
About the author: For 12 years, James Allen has taught at Huntley High School in the northwest suburbs of Chicago, Illinois. He has taught Algebra 1 through honors Precalculus, and a unique course called “Geometry in Construction” where students use math to build campus structures. |
Put yourself in the shoes of an Algebra 1 student. You've just got your hands on a brand-new TI-84 Plus CE graphing calculator. It feels like you've finally made it to the big leagues! A new graphing calculator is exciting and a new tool to learn. So, what are the top 7 calculator functions Algebra 1 students should know?
I am entering my 13th year of teaching, and I’ve taught Algebra 1 through Precalculus Honors. Believe it or not, I get the same calculator questions every year (even from those precalc honors kids!). So, let’s go over the most important, basic calculator functions to teach your Algebra 1 students throughout the school year.

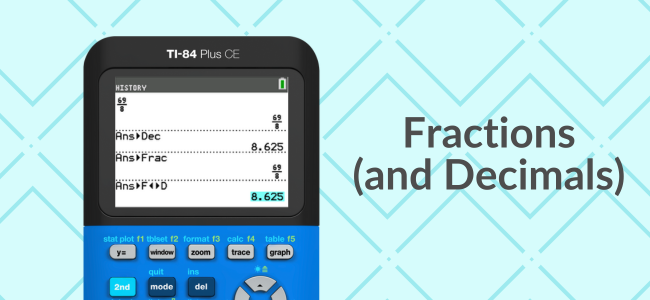
1. Fractions (and Decimals)
One of the first questions kids ask about their TI-84 Plus CE is, “How do I do fractions in this thing?” There are a couple of ways to do this, so let's tackle both!
The fastest way (with the latest OS) to write a fraction:
- [alpha]
- [x,t,θ,n] (Variable Key)
The second way:
- [alpha]
- [y=]
- 1:n/d (first option)
As a side note, changing from fractions to decimals (or decimals to fractions) can be a helpful tool as well. Here are a couple of ways:
How to convert fractions and decimals:
- [math]
- Choose 1: > Frac if you’d like to change a decimal to fraction.
- Choose 2: > Dec if you’d like to change a fraction to a decimal.
Here’s another way to convert fractions to decimals and vice versa:
- [alpha]
- [y=]
- 4: >F<>D (last option)
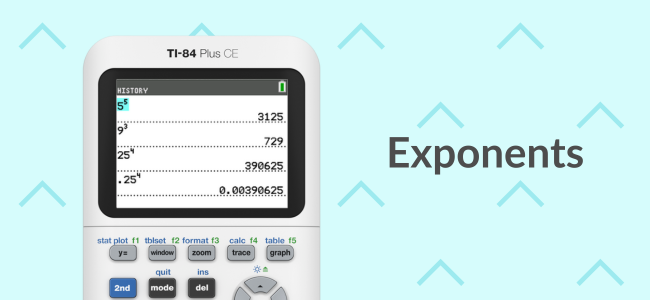
2. Exponents
The next question they’ll ask, “How do I type something other than ‘squared’?”
Many choose to hit the [x2] button, arrow into the exponent, delete it and type a new one. However, we don’t have all day for math, which is unfortunate. And you may wonder how they don’t know the [^] button gives them an exponent. So, when the time is right, make sure to show them how to type in any exponent they want (even rational exponents) using their new favorite exponent button!
Hold on tight, this one gets crazy…
How to type any exponent:
- [^] (it’s below [clear] and above [÷])

3. Any Root
“I see the square root button, but what if I want to do a cube root? Or any root for that matter?”
Many students think you’d just type a 3 in first, then hit [2nd], [x2] to get the root. All that will do is multiply the square root. There are a couple ways to get this done, and I think it’s a great time to introduce the “soft keys.”
How to find any root:
- [math]
- For cube root, choose option 4: 3√(
- For any root, choose option 5: x√
(Note: Older operating systems will require students to type in the index of the radical before selecting the any root option.)
Using soft keys
If you look at the top row of keys, you will see f1, f2, f3, f4, and f5. When you hit [alpha] first, you will get some handy shortcuts. Let’s try one out!
How to get to the (f2) soft keys:
- [alpha]
- [window] (f2)
- Option 6: x√ is any root
It’s the same number of keystrokes as using the math menu, but as you can see, there are some useful functions built into this shortcut that will come in handy in future math classes. Keep the soft keys in your back pocket for future use!
I also like how the menu comes up over whatever you’re working on. For example, if you are in the "y=" screen and want to bring in any root or an absolute value, it feels like you’re still in the "y=" screen as you use the soft keys to select your function.
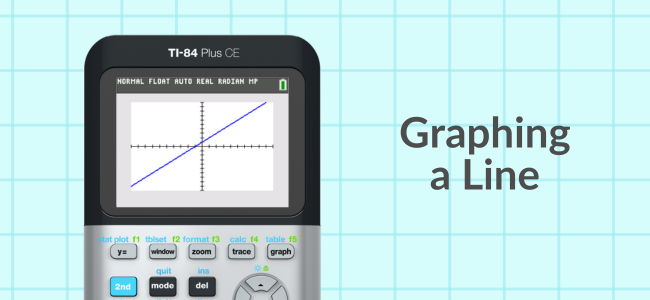
4. Graphing a Line
Graphing your first function on the calculator is a defining moment for all math nerds! No calculator you’ve had in your past could do this. Overall, it is pretty straightforward.
How to graph a function:
- [y=]
- Input your function
- [graph]
This is true unless your window isn’t “set correctly,” or if you get an error message. Let’s take a moment to talk about window adjustment and error messages you may encounter when kids first graph a line.
Error: Syntax
The calculator gives you a “go-to” option that will take you to the issue, but it may not be the only issue.
This error is generally caused by something typed into another “y=” line like a random plus sign on its own. Have your students check all 10 "y=" lines for random stuff.
Believe it or not, some of these students don’t put their cover on. Sometimes they just throw it in their backpack, so the calculator may accidentally get turned on and random stuff gets typed all over the place!
Error: Invalid Dimension
The only option here is to “quit,” which doesn’t take you to the issue.
If you hit [y=] again, take a look at the top left to see “plot 1” (or any other plot) is likely highlighted. This really isn’t an issue if you want to do a scatter plot. However, if you don’t have any data in your lists to plot, your calculator gets confused and gives you the error.
What now? Arrow up to the plot that is highlighted, hit [enter] to unhighlight, then try [graph] again. You should be good to go!
Window adjustment
Perhaps your student typed everything in correctly (and no error messages), but they can’t see their graph.
They may be in a “weird” window at the moment and need to adjust. When my students are just starting out graphing, my go-to is “Zoom 6” … or to be more technical [zoom], 6: ZStandard. This is the standard zoom and it brings the x and y max/mins to 10 and -10, respectively.
Anytime we graph in my classes, I suggest using “Zoom 6” rather than [graph]. That way we can all start with the same window and adjust as a class, if necessary.
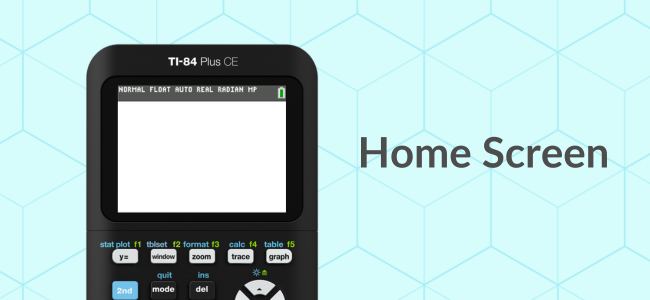
5. Home Screen
This calculator has a lot of keys, a lot of menus, and a lot of functionality! If a student gets lost, the safe space of the calculator is the home screen. Students may panic and start pressing [clear], but sometimes that doesn’t bring you back. That’s why it’s good to make sure your kids are aware of the “quit” key.
How to get to the home screen:
- [2nd]
- [mode] (quit)
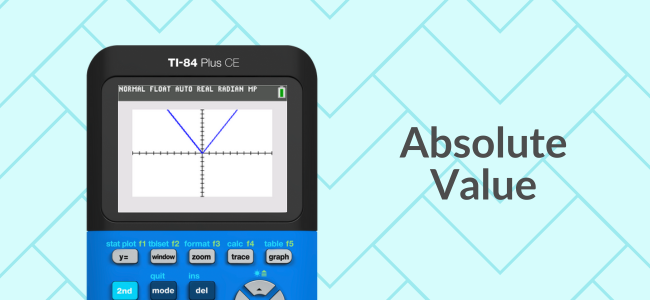
6. Absolute Value
Did you know your TI-84 Plus CE has an absolute value function … and you can graph it?! 🤯
I get this same reaction every time when I show kids the absolute value, “Wait, what? You can do that on this thing?” There’s two ways to get to it: math menu and soft keys.
How to input an absolute value:
- [math]
- Arrow Right to “NUM”
- 1: abs(
Write an absolute value using soft keys:
- [alpha]
- [window] (f2)
- 1: abs(
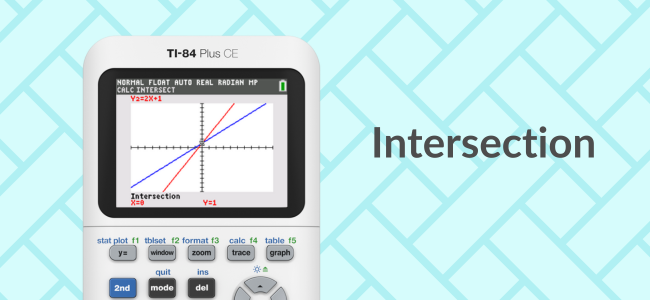
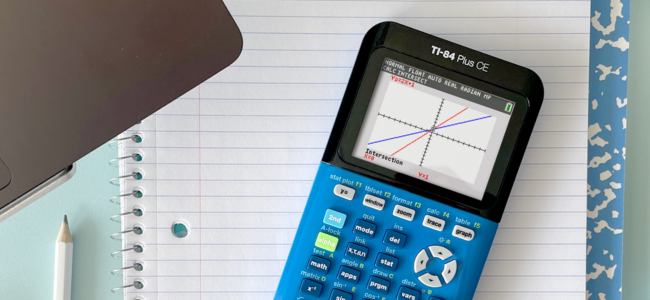
7. Intersection
There are often multiple ways to find the answer in math, and solving a system of equations is no different. I favor the elimination method myself, but there are times where the equations we’re working with aren’t “nice.”
This is the perfect time to reinforce the idea that we shouldn’t always rely on technology. Solving a problem by hand may be faster. There are also times that your TI-84 Plus CE will swoop in to save the day! Finding a point of intersection is a skill students will need throughout their mathematical career — make sure to hit this one hard.
How to find the intersection on your graphing calculator:
- [2nd]
- [trace] (calc)
- 5: intersect
- “First curve?” is referring to selecting the first line. Hit [enter].
- “Second curve?” is referring to selecting the second line. Hit [enter].
- “Guess?” means you can use the left or right arrow to move toward the intersection point. Hit [enter].
- Make sure your students see the word “intersection” because many do not hit [enter] the third time.
Note: To keep things simple at first, after selecting “intersection” in step 3, you can tell your students to hit [enter] 3 times in a row. The process of guessing is important when you are dealing with more than two functions graphed and multiple points of intersection. Remember, this calculator will take you through Calculus and beyond, so it has some very advanced features!
Bonus: Turn It Off!
Now, I know I said 7 calculator functions your students need, but here’s one last bonus. It may seem silly, but show them how to turn the calculator off! Most students have NO IDEA this thing can be turned off.
How to turn off the calculator:
- [2nd]
- [On] (off)
Your batteries will thank you.
If you’re looking for more tips and tricks for your graphing calculator, instructional videos for your students, or fun mathematical content, be sure to check out my Mr. Allen Math YouTube Channel! Best of luck at the start of your school year!
Follow @TICalculators on Facebook, Instagram, X, YouTube or Pinterest to stay informed on the latest with TI!

Participating in the My Calculator Buddy Sweepstakes? Here is a bonus entry code: BULLETINBOARDBLOG