Knowledge Base
Solution 40358: Updating or Reloading the TI-Nspire™ CX or TI-Nspire CX CAS Calculator Operating System
How do I update/reload the operating system of the TI-Nspire CX or TI-Nspire CX CAS Calculator?
Please Note: If you experience issues connecting your TI-Nspire CX or TI-Nspire CX CAS calculator to the computer please follow the steps in Kbase #27430
Additional Note: The steps below are only for the TI-Nspire CX or TI-Nspire CX CAS calculator. If you have a a TI-Nspire CX II or TI-Nspire CX II CAS calculator please visit Kbase #40359. If you have a TI-Nspire or TI-Nspire CAS Clickpad or Touchpad calculator please visit Kbase #21390.
Installing the OS (Operating System) using TI-Nspire CX Student software and TI-Nspire CX CAS Student Software:
1) Install the latest version of the TI-Nspire CX Student software or TI-Nspire CX CAS Student Software.2) Download the latest version of the OS for the TI-Nspire CX or TI-Nspire CX CAS
3) Connect the TI-Nspire CX or TI-Nspire CX CAS calculator to the computer using the Standard A to Mini-B USB cable also make sure the USB cable is completely pushed into the calculator and computer because if it is not completely pushed in the computer will not detect it.
4) Make sure the TI-Nspire CX or TI-Nspire CX CAS calculator is powered on.
5) Launch the TI-Nspire CX Student software or TI-Nspire CX CAS Student Software.
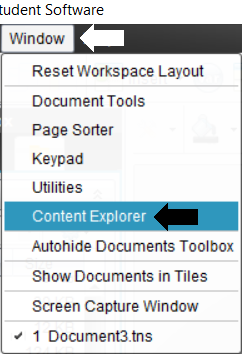
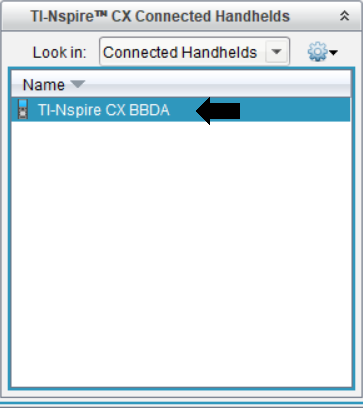
6) Click [Window] [Content Explorer]
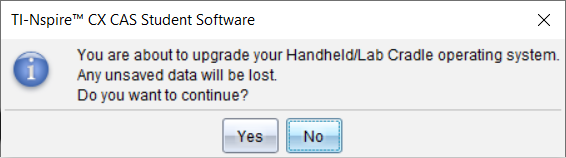
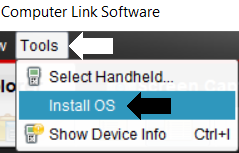
8) Next click [Tools] and [Install OS] and browse to the Operating System file you downloaded in step 2 then click [Install OS]

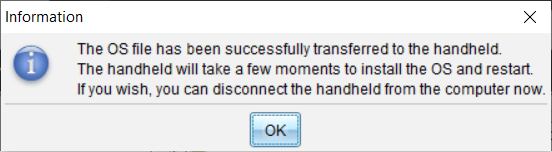
11) A window with the message "Installing OS" will appear.
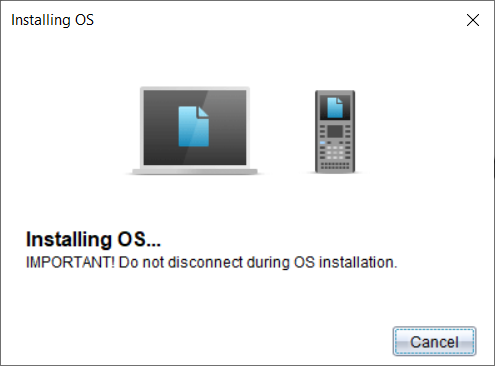
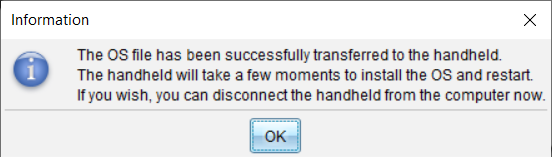
12) When finished, a confirmation window will appear indicating that it is now safe to disconnect.
Installing the OS (Operating System) using the TI-Nspire Computer Link Software:
1) Install the latest version of the TI-Nspire Computer Link.
2) Download the latest version of the OS for the TI-Nspire CX or TI-Nspire CX CAS
3) Make sure the TI-Nspire CX or TI-Nspire CX CAS calculator is powered on.
4) Launch the TI-Nspire Computer Link software.
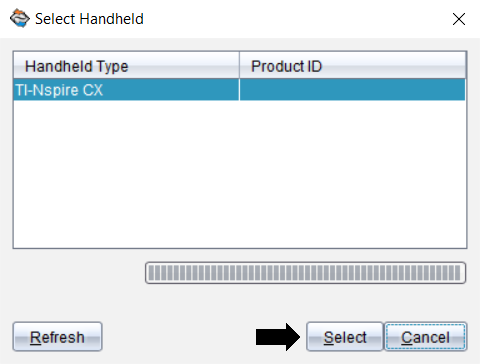
5) Click [Select] on the "Select Handheld" dialog that appears.

Transferring the OS from a TI-Nspire CX to another TI-Nspire CX or TI-Nspire CX CAS to another TI-Nspire CX CAS:
1) Connect both calculators together using the Mini-A to Mini-B USB cable.
2) Make sure both calculators are powered on.
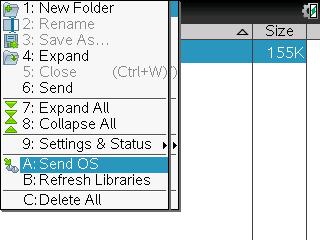
3) On the sending calculator, press [home] [2] [menu] [A].
4) The OS transfer will start and should complete in 2 - 3 minutes.
5) When finished, if you wish to upgrade another calculator, disconnect the receiving calculator and connect the other calculator and repeat the steps.
Please Note: You can only transfer the OS from:
TI-Nspire CX to another TI-Nspire CX
TI-Nspire CX CAS to another TI-Nspire CX CAS
Please see the TI-Nspire CX and TI-Nspire CX CAS guidebooks for additional information.