Solution 32012: Using the Update Class Roster Feature in the TI-Nspire CX Premium Teacher Software.
How do I use the update class roster feature in the TI-Nspire CX Premium Teacher Software?
To use the update class roster feature in the TI-Nspire CX Premium Teacher Software follow the steps listed below:
• In the TI-Nspire CX Premium Teacher Software click [Window] [Class Workspace]
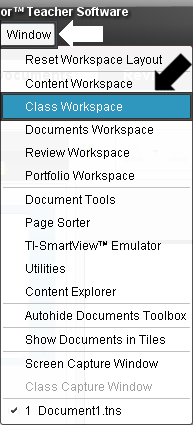
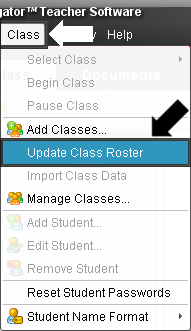
• Once in the class workspace click [Class] [Update Class Roster]
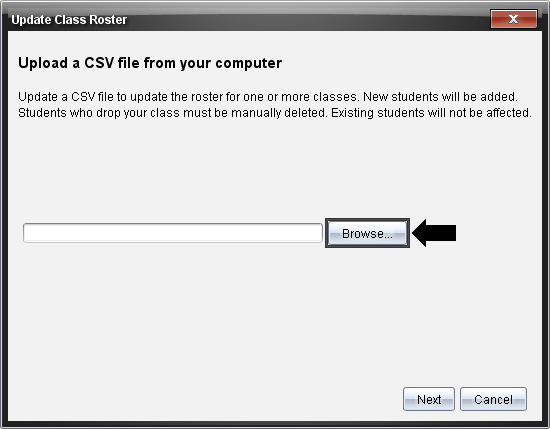
• This will display the update class roster wizard click [Browse] to select your .csv or .txt file
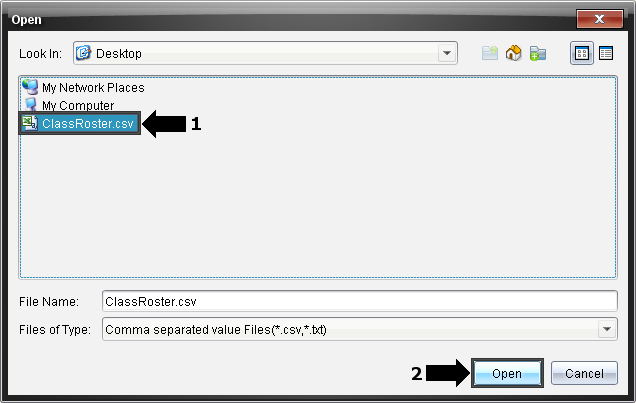
• Once you click browse a window will appear. Click the drop-down box, to browse to your file, if your file is not located in the default location which is the documents folder.
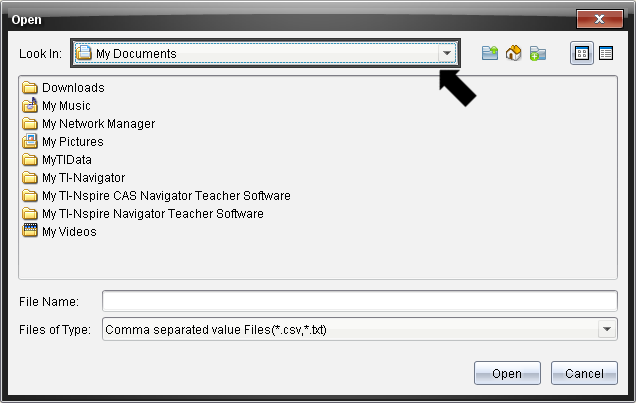
• Once you have located your file click the file name, to highlight the file, and then click [Open]
• Next you will be taken back to the update class roster wizard click [Next] to proceed

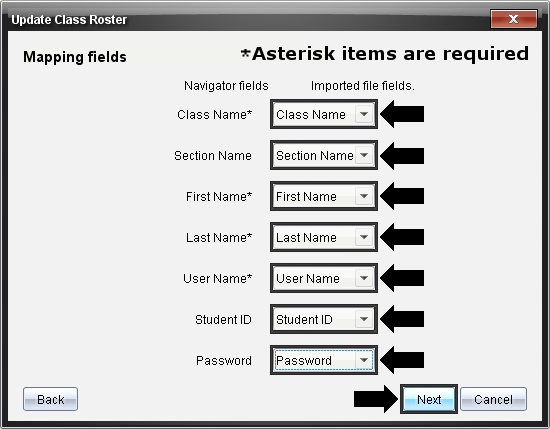
• On the next window click the drop-down boxes highlighted in the image below and select the header name in from your .csv or .txt file that corresponds to the row item. Once you have populated the required items from the drop-down menu's click [Next] to continue.
Please Note: Items with an asterisk are required however items without an asterisk can be left as [Blank] since they are not required.
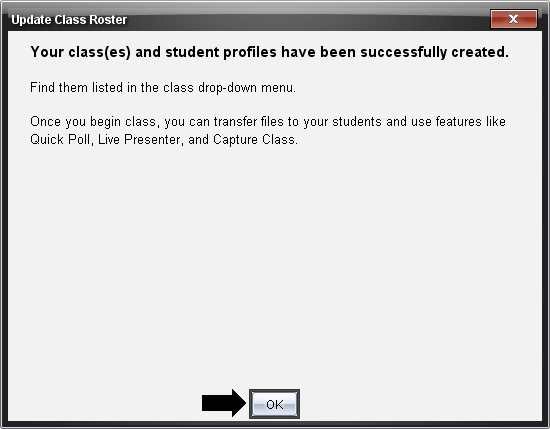
• On the next screen you will receive a message that your classes were completed successfully, click [OK] to close the wizard.
If you require additional assistance, please contact TI-Cares.