Knowledge Base
Solution 28670: Importing Images on the TI-Nspire™ Family Products.
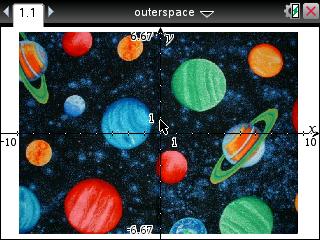
How can I import and display images on my TI-Nspire family handheld?
Follow the steps below to import images in the TI-Nspire family handheld.
1) Ensure that the latest TI-Nspire family software version is installed.
2) Ensure the handheld has the latest OS.
3) Insert a Graph, Geometry, or Note App.
4) Click on Insert then select Image and select the desired image by browsing through its location.
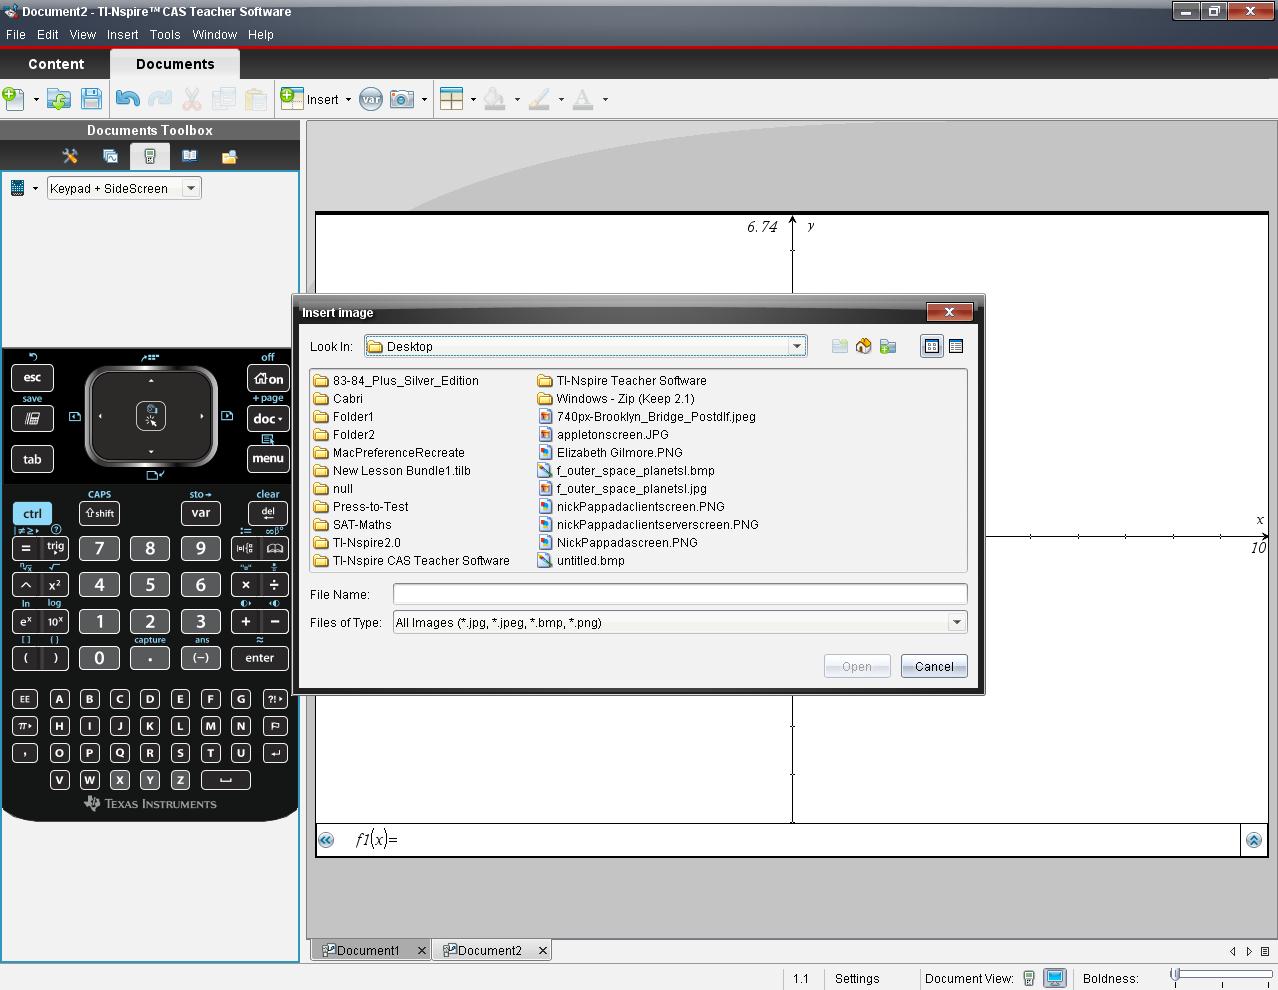
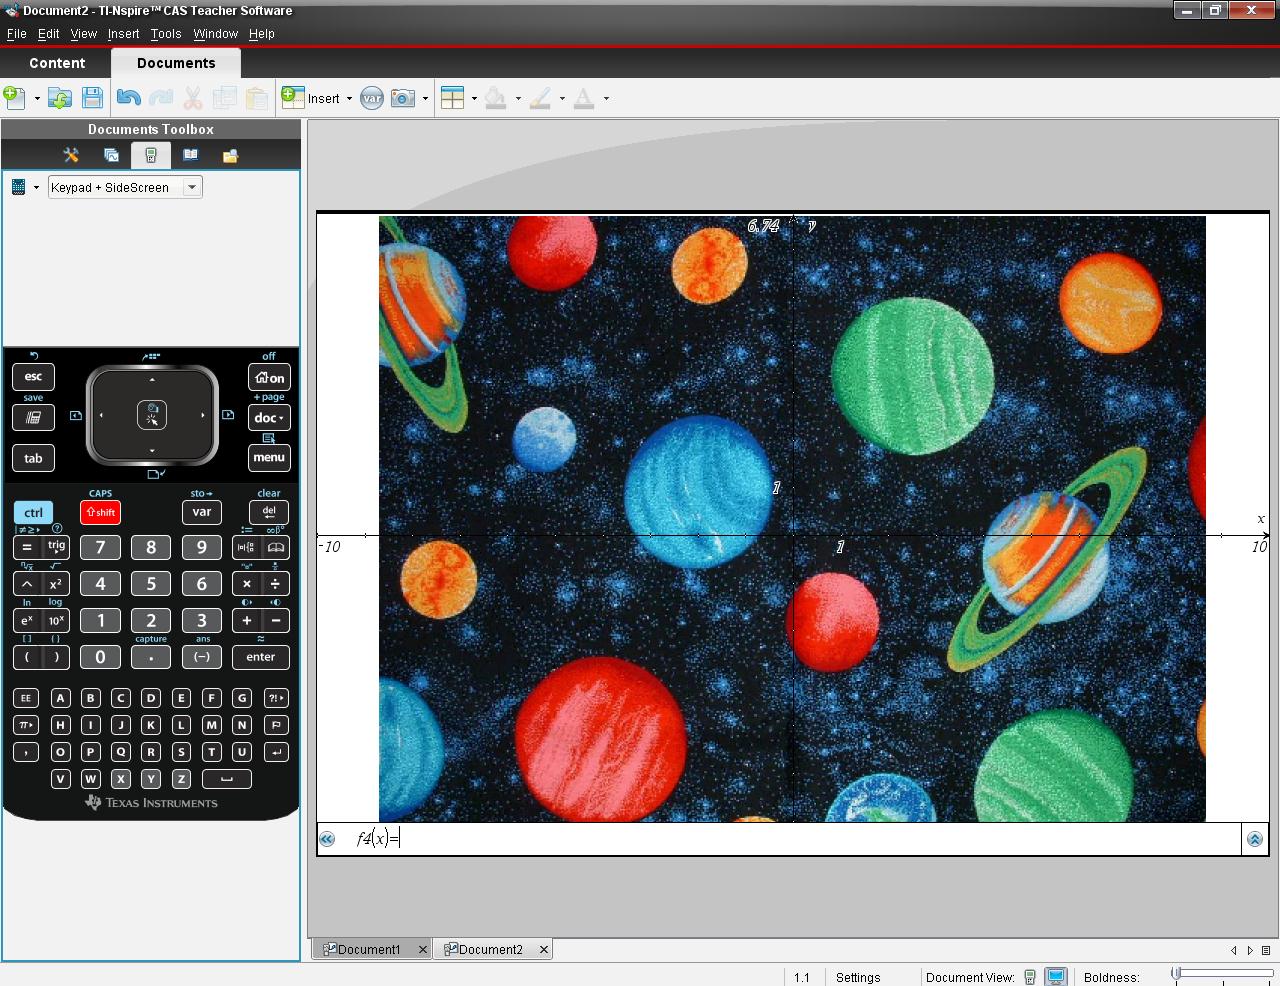
5) Click Open to insert your selected image.
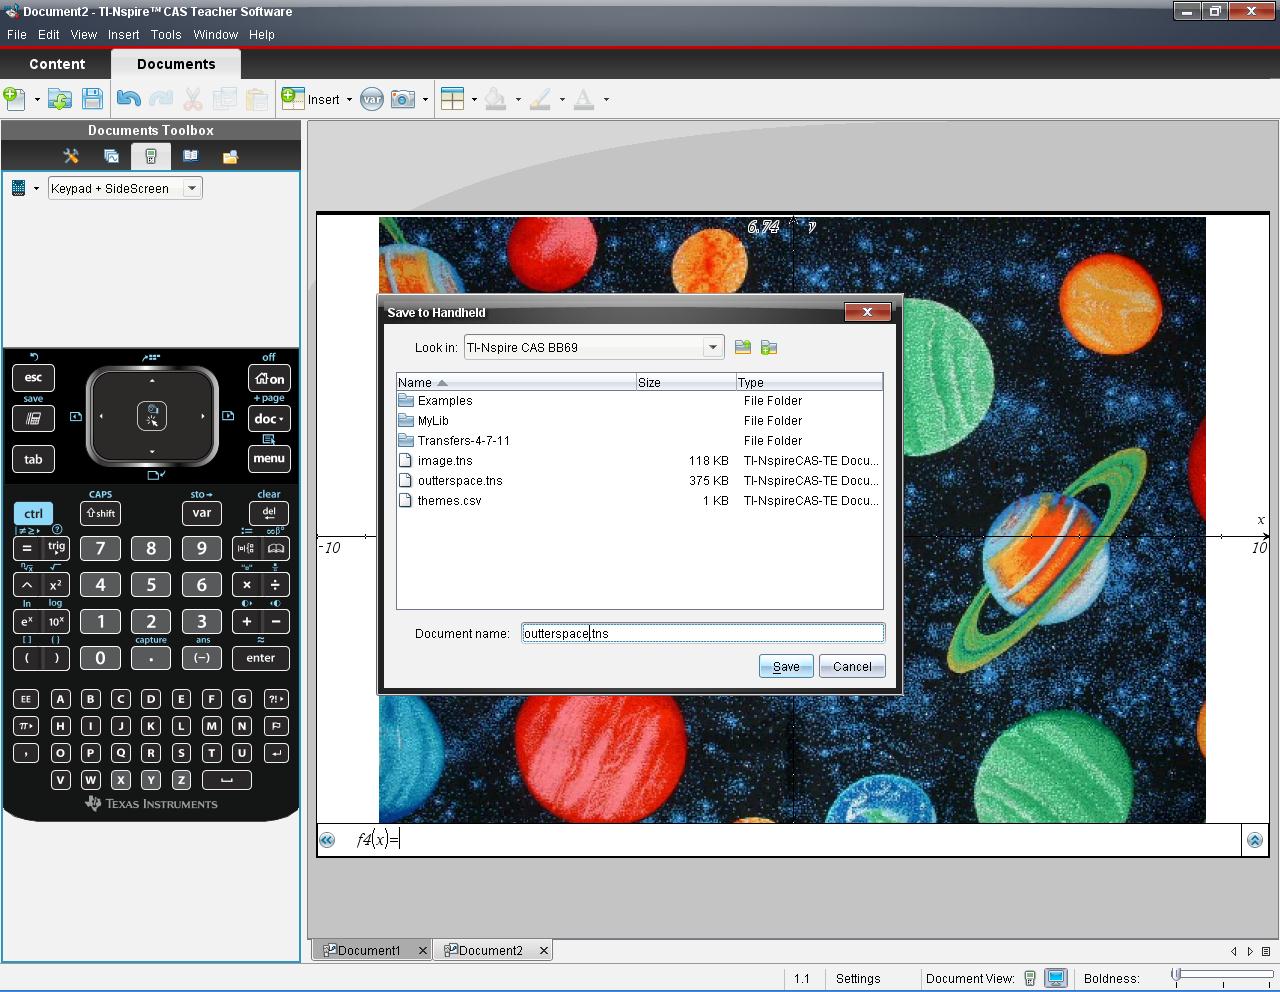
6) Click on the Save icon or click on File and select Save As to save the TI-Nspire document to the computer.
7) Connect the handheld to the computer and ensure that the USB cable is completely pushed into the TI-Nspire and is a tight fit. If it is not completely pushed in the computer will not detect it.
8) Drag and drop the TI-Nspire document from your computer to the TI-Nspire handheld by going to Content Explorer.
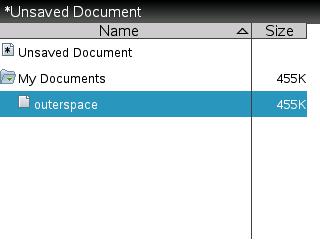
9) Once the TI-Nspire document has been saved to handheld go to My Documents on the handheld and select the TI-Nspire document from your list in your my documents.
Please see the TI-Nspire family guidebooks for additional information.