Knowledge Base
Solution 40347: Tip Sheet for Implementation of Texas Instruments Account Based Licenses.
What are some tips for implementing Texas Instruments Account Based Licenses?
The information below covers some common questions and best practices in setting up Texas Instruments Account Based Licenses for use by your teachers and students. For complete directions, please visit our OrgAdmin License and Entitlement Management System e-guide.
Topics covered:
- What to expect when making your purchase
- Accepting a license invitation and initial setup of account
- Creating a group and importing students
- List of resource
WHAT TO EXPECT WHEN MAKING YOUR PURCHASE
Key items to include in your purchase information
-Start Date: This is the date you would like for your subscription to start. When the order is set up in our system, the start date cannot be in the past.
- License Administrator: The name and email address for the license administrator who will manage the licenses and assign students.
Once you make your purchase
When the Instructional Products Dealer places the order with TI, two emails are automatically generated:
1. An Order Confirmation email from Texas Instruments (from no-reply@ti.com) is sent to the License Administrator, as well as the email address of the purchaser from the school or district, if it was provided. This is a record of the order and can help identify anything that may need to be corrected (start date, number of seats, License Administrator email address, etc.).
2. The License Administrator will receive the license invitation from Texas Instruments (from noreply@edtech-mail.ti.com) for the software purchased. This is the email address that the License Administrator will use to kick off the process to accept the license and assign it to students. The invitation can be accepted only by the addressee and should not be forwarded.
Note: Some districts’ email systems may reject emails originating from external domains, resulting in students or secondary administrators not receiving the expected emails. You will not receive notification that an email was rejected. To avoid this, be sure to add noreply@edtech-mail.ti.com to your “safe vendors” list, and then send a test email invitation and confirm the user received it.
ACCEPTING A LICENSE AND INITIAL SETUP OF ACCOUNT
After accepting the license, the License Administrator will need to create an account in the OrgAdmin Portal. There are two options for creating an account.
- Create a new account: This requires you to create an account including your name, email address, and password.
- Sign in with Google: This allows you to use your Google credentials (email address and password) to set up your account. (Note: TI will not have any access to your Google account or knowledge of your password.)
- Sign in with Microsoft: This allows you to use your Microsoft credentials (email address and password) to set up your account. (Note: TI will not have any access to your Microsoft account or knowledge of your password.)
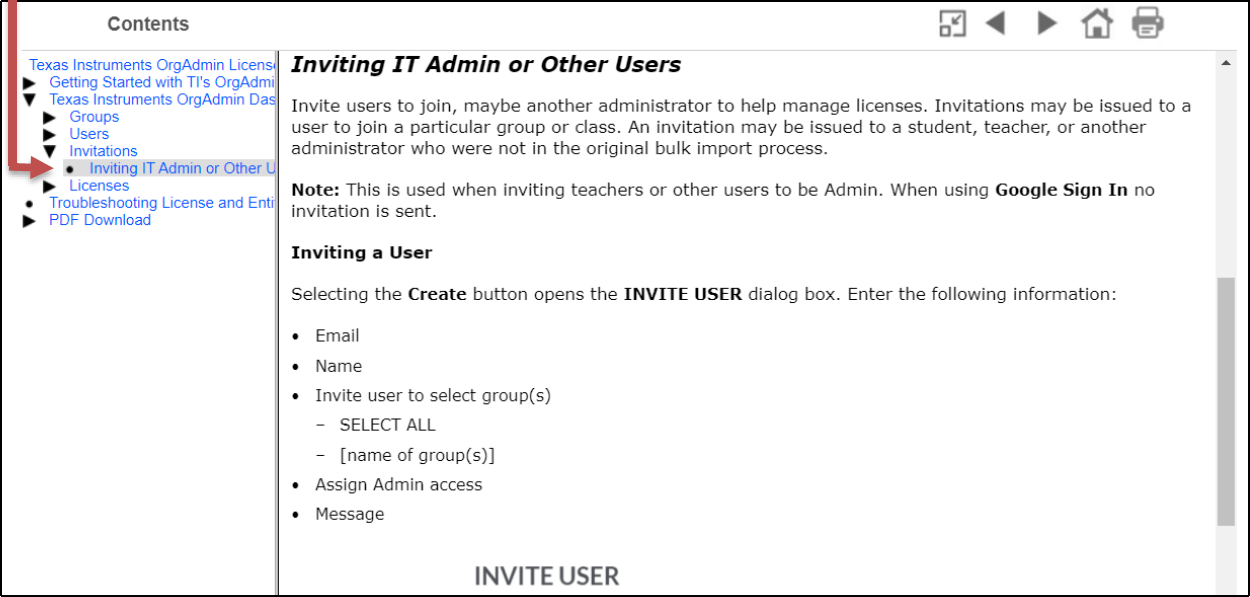
Tip: It is a best practice to have more than one individual capable of making changes within the OrgAdmin system. To add additional administrators to the system, follow the directions for “Inviting IT Admin or Other Users” located in the OrgAdmin License and Entitlement Management System e-guide.
SCHOOL NETWORK REQUIREMENTS
- Sometimes, security software, such as antivirus, anti-malware or firewall software, can block a program’s access to the internet. Make sure that security and firewall software are set to allow communication from your TI software to the internet. An exception should be added for https://edtech.ti.com, https://education.ti.com and https://activation.ti.com to the security software. If the system only accepts a domain please add ti.com.
- If a service or system within your network decrypts https traffic you will need to disable this decryption for the web address https://edtech.ti.com, https://education.ti.com and https://activation.ti.com. If your system only accepts a domain please disable decryption for ti.com.
CREATING A GROUP AND IMPORTING USERS
- Steps for group creation and importing users is documented at Solution 40465: Key Steps for Adding Teachers and Students to TI Account Based Software License.
If you have questions or need assistance, contact TI-Cares