You have several options for optimizing the view of captured class screens, including:
| • | Toggling between a tiled view and a gallery view. |
| • | Comparing selected screens in a side-by-side view. |
| • | Refreshing the view as needed or setting the auto-refresh feature to automatically refresh the view at timed intervals. |
| • | Zooming in or out to increase or decrease the size of the captured screens in the window. You can also select the percentage at which the size of the screen will be increased or decreased. |
| • | Showing or hiding student names. |
| • | Accessing Live Presenter options. For more information, see Using Live Presenter. |
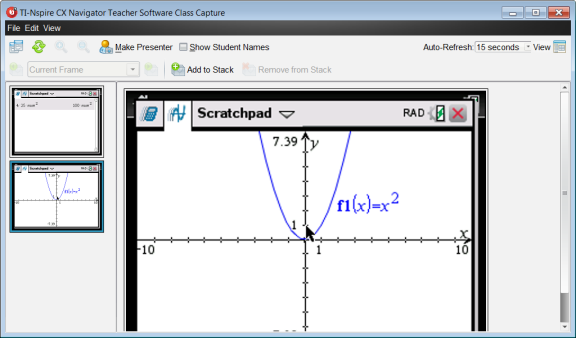
When you capture student screens, the default view for the Class Screen Capture window is Tiled. Switch to Gallery view to show an enlarged view of a selected screen. Thumbnail views of all the captured screens are shown in the left pane, enabling you to find and select screens.
To toggle between Tiled and Gallery views:
| ▶ | Click View  , and then click Gallery or Tiled. , and then click Gallery or Tiled. |
—or—
| ▶ | From the View menu, select Gallery or Tiled. |
—or—
| ▶ | For Gallery view, press Ctrl + G. (Mac®: “ + G). For Tiled view, press Ctrl + T (Mac®: “ + T). |
In Gallery view, thumbnail images of captured screens are displayed in a column in the left pane of this view. An enlarged view of a selected screen is displayed in the right pane.
| • | If you select multiple thumbnails to view in the left pane, they are displayed in the right pane. |
| • | If you select more than four thumbnails, view the additional screens by scrolling down the right pane. |
| • | If you selected to show student names, names are centered under each student’s captured screen. |
| • | Zoom functions are disabled in Gallery View. |
| • | You can change the order of the screens in the Gallery View. |
| • | The width of the thumbnail pane cannot be changed. |
Changing the order of captured screens in one view (Tiled or Gallery) automatically changes it in the other view.
| ▶ | In Tiled view, drag the screen to its new position. |
| ▶ | In Gallery view, drag the screen's thumbnail up or down to its new position. |
As you drag, a vertical bar shows the point at which the screen will be inserted.
Note: To cancel the move before releasing the mouse button, press Esc.
As students log in to class and work on their screens, you might want to update the captured screens.
Refreshing Screens Manually
| ▶ | Click Refresh |
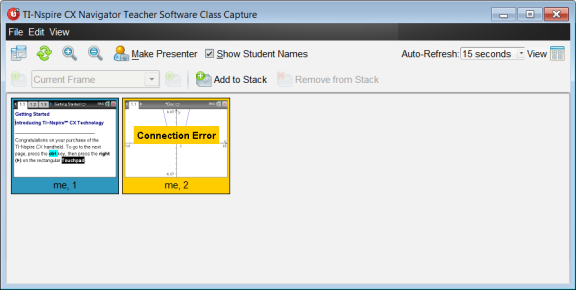
Note: If a student has lost connection and a screen cannot be refreshed, it is outlined in yellow.
Refreshing Screens Automatically
The auto-refresh feature recaptures class screens at timed intervals. The default setting for the auto-refresh feature is Off. To enable auto-refresh:
| ▶ | On the View menu, click Auto Refresh, and select a time interval. |

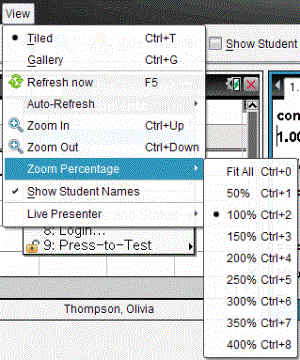
In the Tiled view only, you can magnify or shrink the views of the captured screens.
| ▶ | To zoom to levels between 50% and 400% in 50% increments: |
Click Zoom In ![]() or Zoom Out
or Zoom Out ![]() on the toolbar.
on the toolbar.
–or–
Click View > Zoom In or View > Zoom Out from the menu.
| ▶ | To zoom to a selected level, click View > Zoom Percentage, and select the level. |