Creating Geometric Shapes
The Shape tools let you explore circles, polygons, conics, and other geometric objects.
As you create a shape, a tool appears in the work area (for example,  ). To cancel the shape, press . To enable automatic labeling of certain objects, see What You Must Know, in this chapter.
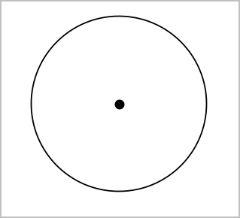
 Creating a Circle
|
1.
|
From the menu, select . (In the Graphs application, click .) |
|
2.
|
Click a location or point to position the circle’s center point. |
|
3.
|
Click a location or point to establish the radius and complete the circle. |
|
4.
|
To resize a circle, drag its perimeter. To move it, drag its center point. |
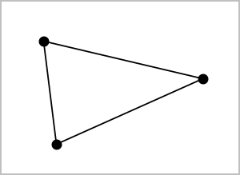
Creating a Triangle
Note: To ensure that the sum of the angles of a triangle equals 180° or 200 gradians, you can force integer angles in the Geometry view. Refer to What You Must Know, in this chapter.
|
1.
|
From the menu, select . (In the Graphs application, click .) |
|
2.
|
Click three locations to establish the vertices of the triangle. |
|
3.
|
To manipulate a triangle, drag any point. To move it, drag any side. |
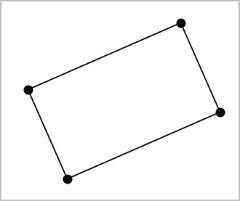
Creating a Rectangle
|
1.
|
From the menu, select . (In the Graphs application, click .) |
|
2.
|
Click a location or point to establish the first corner of the rectangle. |
|
3.
|
Click a location for the second corner. |
One side of the rectangle is displayed.
|
4.
|
Click to establish the distance to the opposite side and complete the rectangle. |
|
5.
|
To rotate a rectangle, drag one of its first two points. To extend it, drag one of the last two points. To move it, drag any side. |
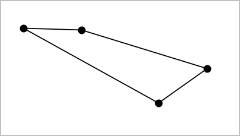
Creating a Polygon
|
1.
|
From the menu, select . (In the Graphs application, click .) |
|
2.
|
Click a location or point to establish the first vertex of the polygon. |
|
3.
|
Click to establish each additional vertex. |
|
4.
|
To complete the polygon, click the first vertex. |
|
5.
|
To manipulate a polygon, drag any vertex. To move it, drag any side. |
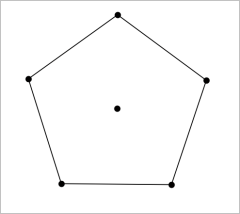
Creating a Regular Polygon
|
1.
|
From the menu, select . (In the Graphs application, click .) |
|
2.
|
Click once on the work area to establish the center point. |
|
3.
|
Click a second location to establish the first vertex and radius. |
A 16-sided regular polygon is formed. The number of sides is displayed in brackets; for example, {16}.
|
4.
|
Drag any vertex in a circular motion to set the number of sides. |
|
-
|
Drag clockwise to reduce the number of sides. |
|
-
|
Drag counterclockwise to add diagonals. |
|
5.
|
To resize or rotate a regular polygon, drag any of its points. To move it, drag any side. |
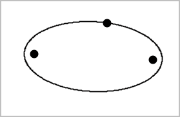
Creating an Ellipse
|
1.
|
From the menu, select . (In the Graphs application, click .) |
|
2.
|
Click two locations or points to establish the foci. |
|
3.
|
Click to establish a point on the ellipse and complete the shape. |
|
4.
|
To manipulate an ellipse, drag any of its three defining points. To move it, drag its perimeter. |
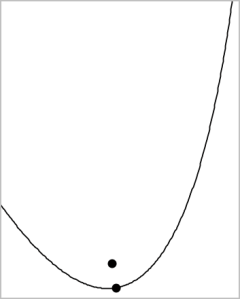
Creating a Parabola (from focus and vertex)
|
1.
|
From the menu, select . (In the Graphs application, click .) |
|
2.
|
Click a location to establish the focus. |
|
3.
|
Click a location to establish the vertex and complete the parabola. |
|
4.
|
To manipulate a parabola, drag its focus or its vertex. To move it, drag it from any other point. |
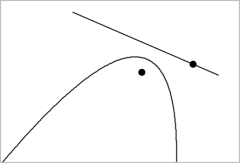
Creating a Parabola (from focus and directrix)
|
1.
|
Create a line to serve as the directrix. |
|
2.
|
From the menu, select . (In the Graphs application, click .) |
|
3.
|
Click a location to establish the focus. |
|
4.
|
Click the line to establish it as the directrix. |
|
5.
|
To manipulate a parabola, rotate or move its directrix or drag its focus. To move it, select both the directrix and the focus, and then drag either object. |
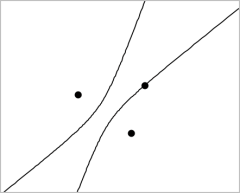
Creating a Hyperbola
|
1.
|
From the menu, select . (In the Graphs application, click .) |
|
2.
|
Click two locations to establish the foci. |
|
3.
|
Click a third location to complete the hyperbola. |
|
4.
|
To manipulate a hyperbola, drag any of its three defining points. To move it, drag it from any other place on the shape. |
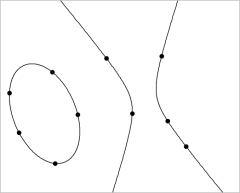
Creating a Conic by Five Points
|
1.
|
From the menu, select . (In the Graphs application, click .) |
|
2.
|
Click five locations to establish the five points on the shape. |
Depending on the pattern of the points, the conic can be a hyperbola or an ellipse.
|
3.
|
To manipulate a conic, drag any of its five defining points. To move it, drag it from any other place on the shape. |