USERS
| • | USERS - shows the latest activity from the past 30 days. The total number of users and the number of users who have recently logged in. |
Before You Begin
Before importing users, the administrator may want to create USER GROUPS. The administrator can create user groups based on subject, class room, grade level, or other as needed. Creating different user groups makes it easier to assign permissions to licenses.
Bulk Imports
Note: This is only for schools using Google/Microsoft sign in. Users will not receive an invitation to create an account, instead will use their Google/Microsoft associated account for authentication.
Determine if your school can use Google or Microsoft SSO
Go to the Sign In dialog. Click Sign In With Google or Sign In With Microsoft button. Enter school email associated Google/Microsoft. If you do not have an account associated with either SSOs, a message will be displayed stating the account cannot be found. See: Using Single Sign-On (SSO)
Before you begin importing users into the TI's OrgAdmin, you will need to create a CSV file. This CSV file lists only the users you intend to use the license and that you wish to import into the TI's OrgAdmin. This bulk import allows quick addition of users into TI's OrgAdmin.
Note: Quick add of users does not require individual email to each user. This feature enables Google/Microsoft users to be assigned licenses without going through the email invitation process.
Note: CSV column headers are supported in English only. Localization of languages is NOT currently supported for the .CSV column headers automatically.
Note: The following is required in the CSV – other wise it could fail
| • | Header row indicating which column is the Email, First Name, and Last Name |
| • | No extra lines in the file |
| • | No extra commas in the file |
Creating the CSV File for Import
When creating the CSV file remember the following parameters apply:
| • | Use a valid email address. |
| • | Save the CSV file with UTF-8 encoding. |
| • | Break your CSV file into manageable chunks. |
| – | Recommendation: break the CSV file into chunks or into User Groups with no more than 2,000 users. |
| – | Large imports greater than 1,000 may take some time to update and sync. |
Note: Required fields are: email address, last name, first name.
Note: CSV column headers are supported in English only. Localization of languages is NOT currently supported for the .CSV column headers automatically.
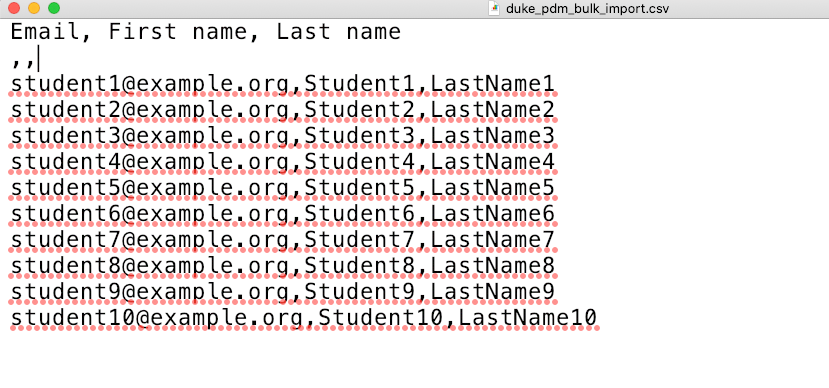
Example of CSV File Data
It is important to note, the headers are required when importing users.
Be sure to include as the header, Email, First name, and Last name otherwise import will fail.
Reminder: Import only the users you intend to use the license.
Reminder: Save your CSV file with UTF-8 encoding.
Note: This is only for schools using Google/Microsoft sign in. Users will not receive an invitation to create an account, instead will use their Google/Microsoft associated account for authentication.
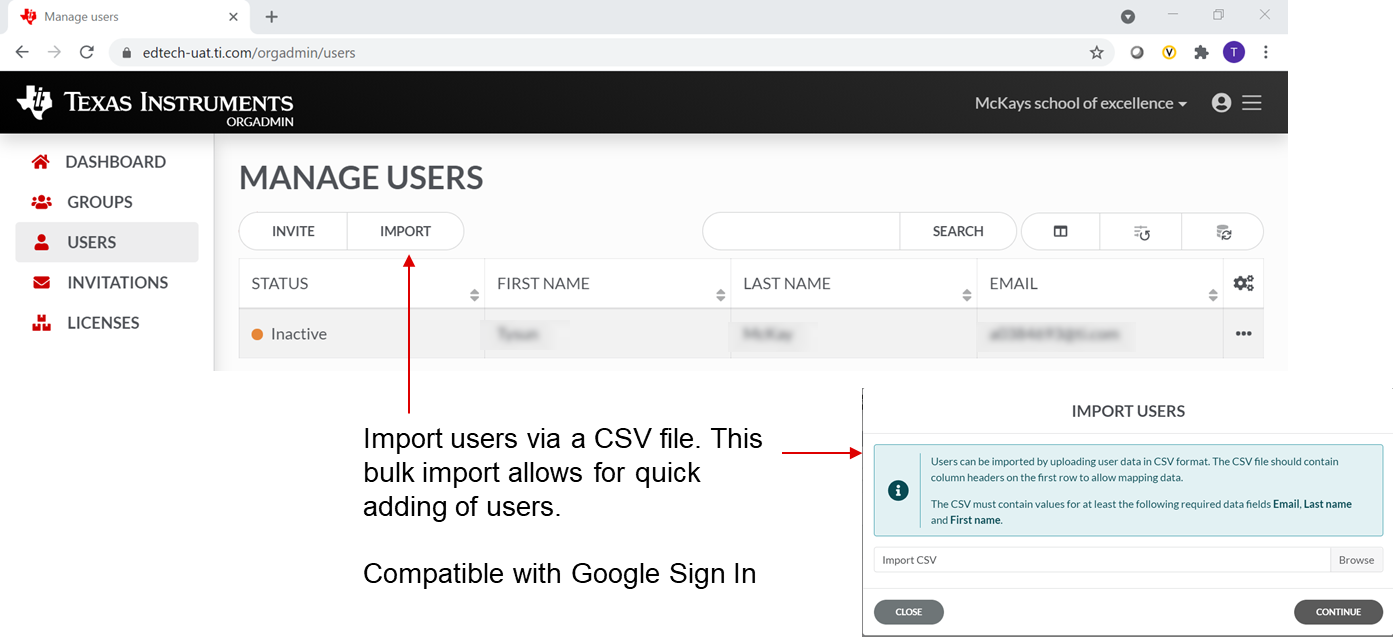
Importing Users
From the USERS tab, select IMPORT.
|
|
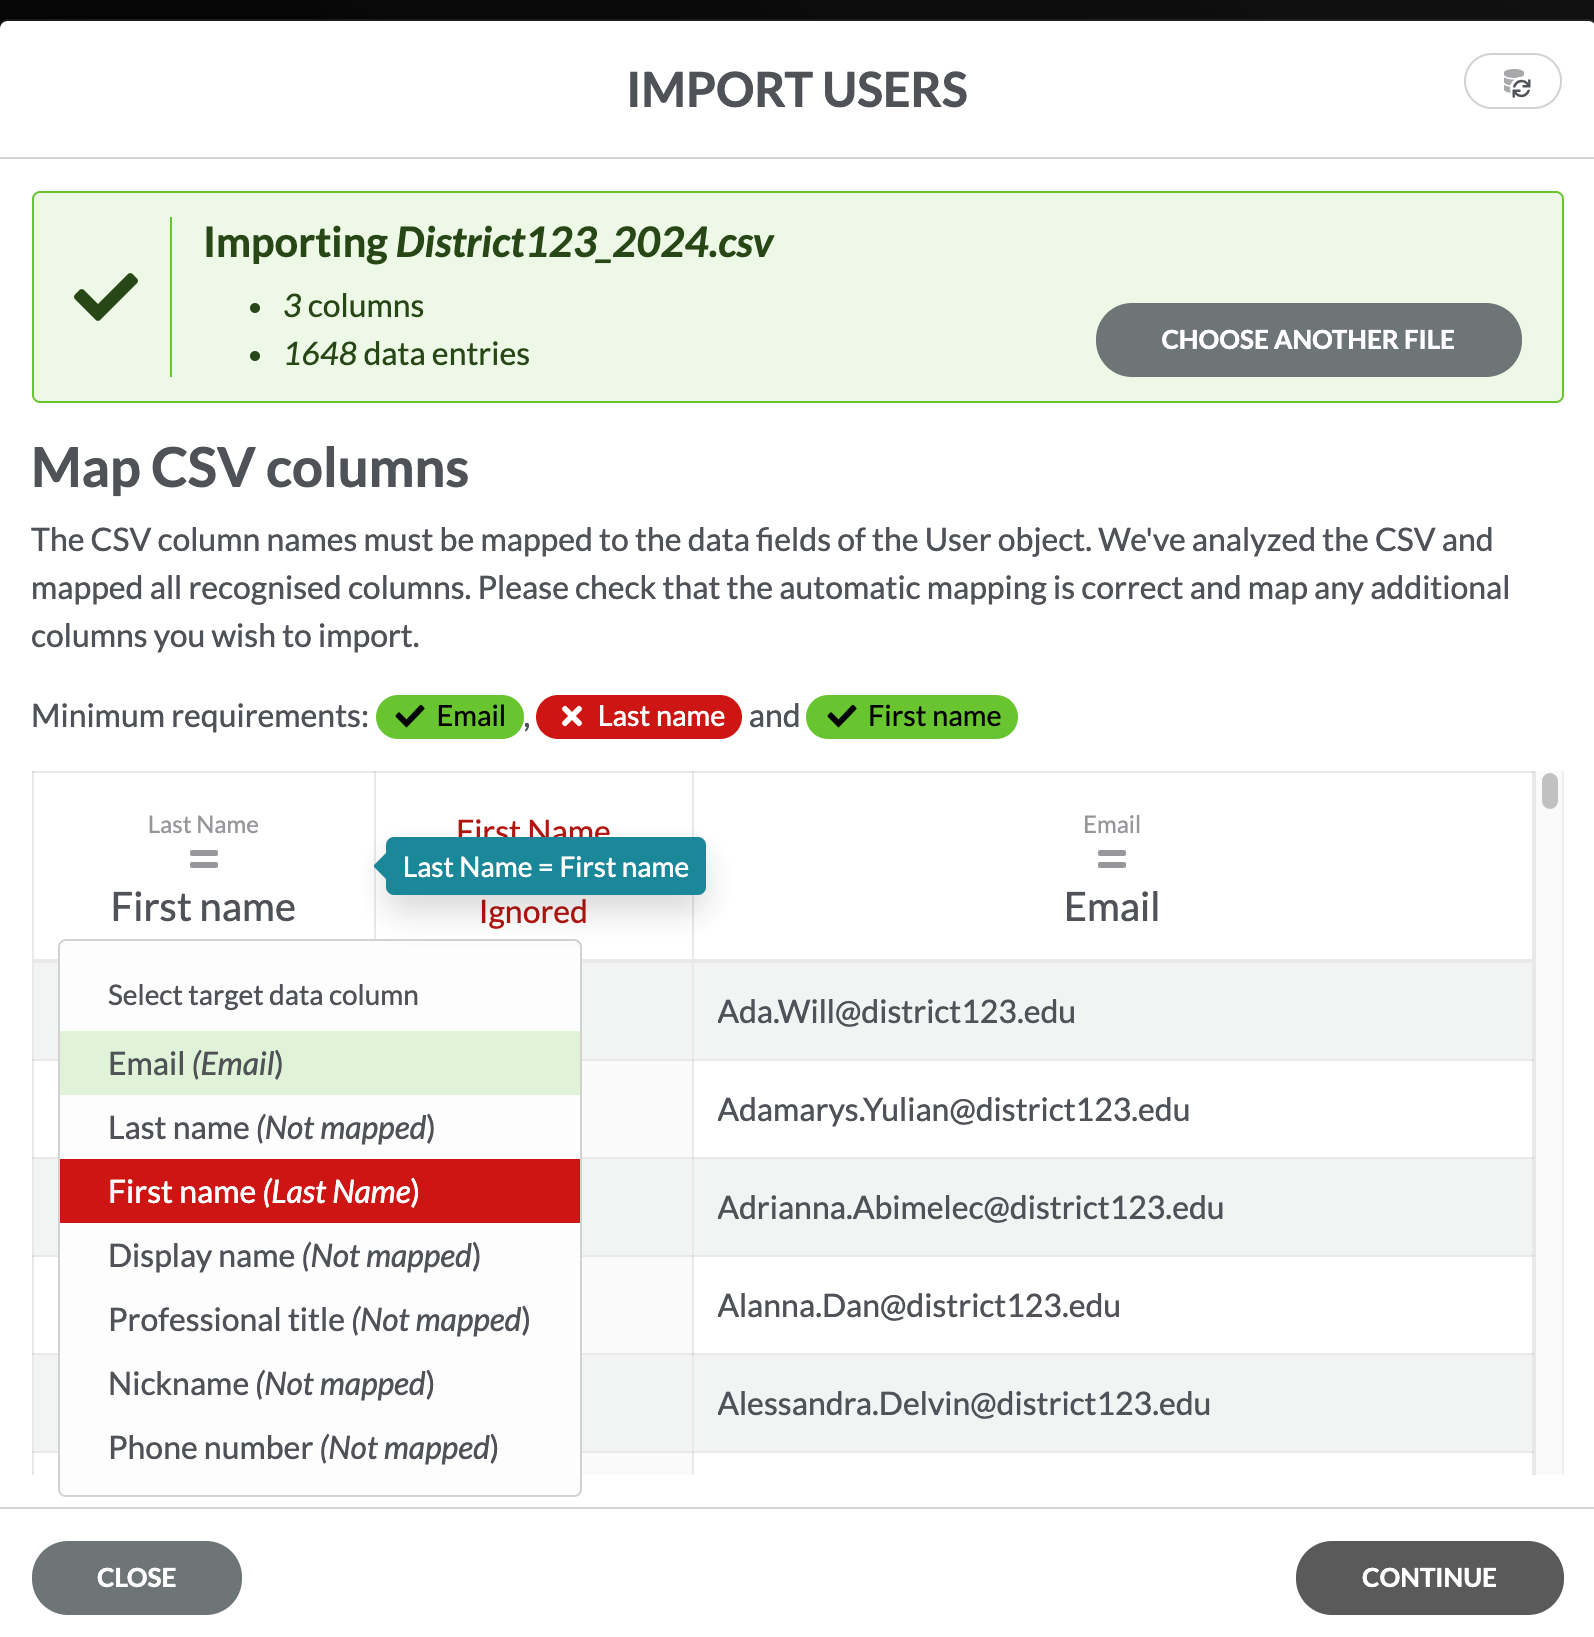
Once you have selected the CSV file, the Import Users dialog will show status of aligning the CSV file to the data needed by the licensing system. Green = good |
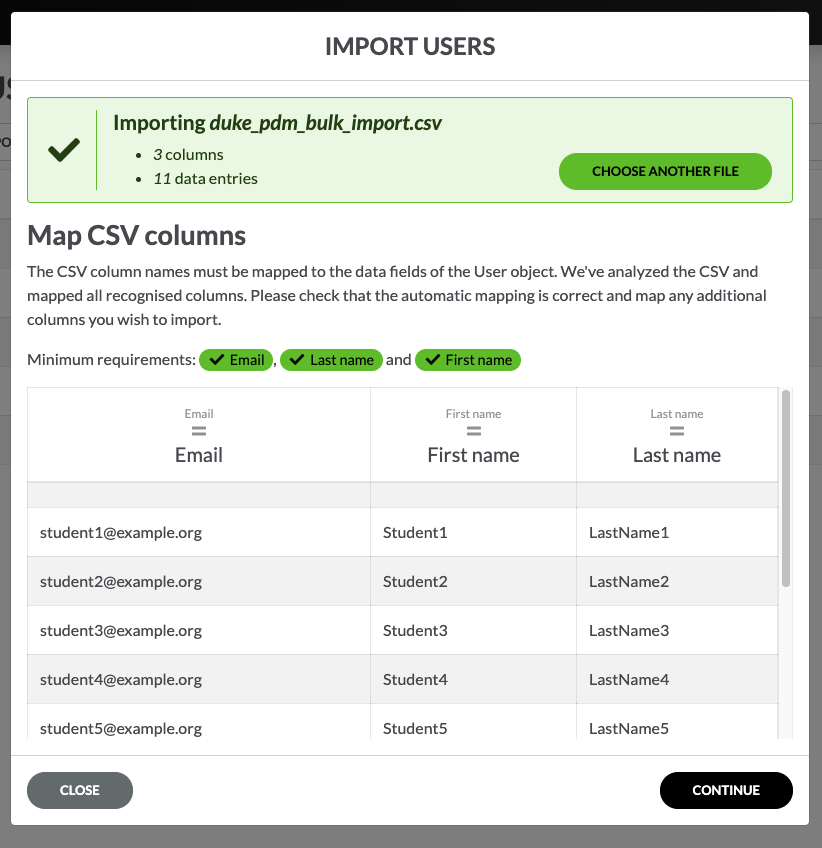
Select CONTINUE to complete the bulk import.
|
|
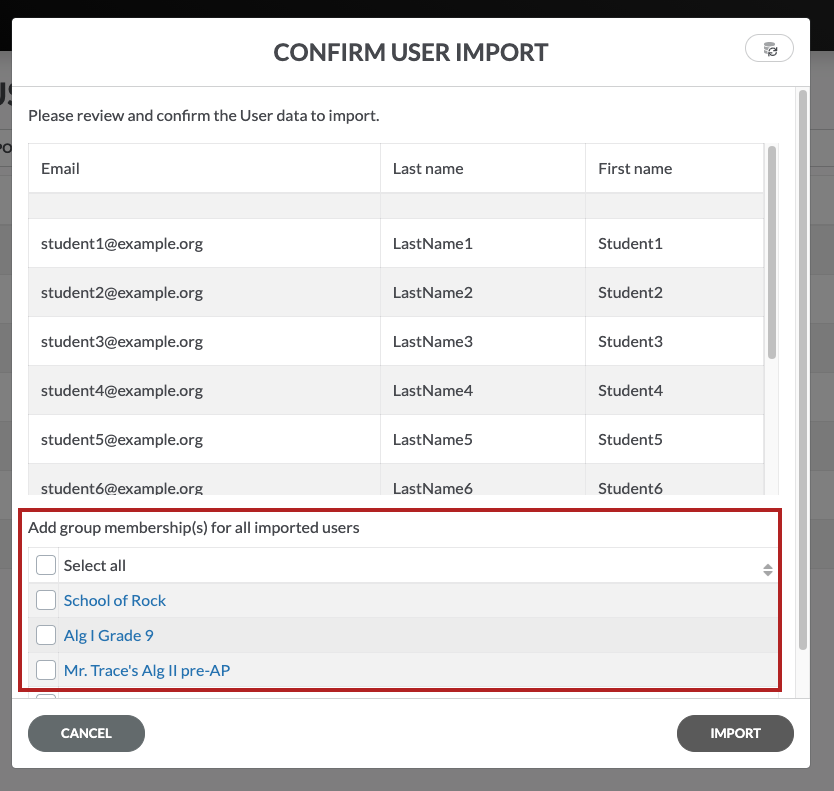
After selecting CONTINUE you can select which group you wish to assign these users. Here we are assigning to the group created earlier.
Once you have the group selected, select Import. |
Reminder:
| • | Break your CSV file into manageable chunks. |
| – | Recommendation: break the CSV file into chunks or into User Groups with no more than 2,000 users. |
| – | Large imports greater than 1,000 may take some time to update and sync. |
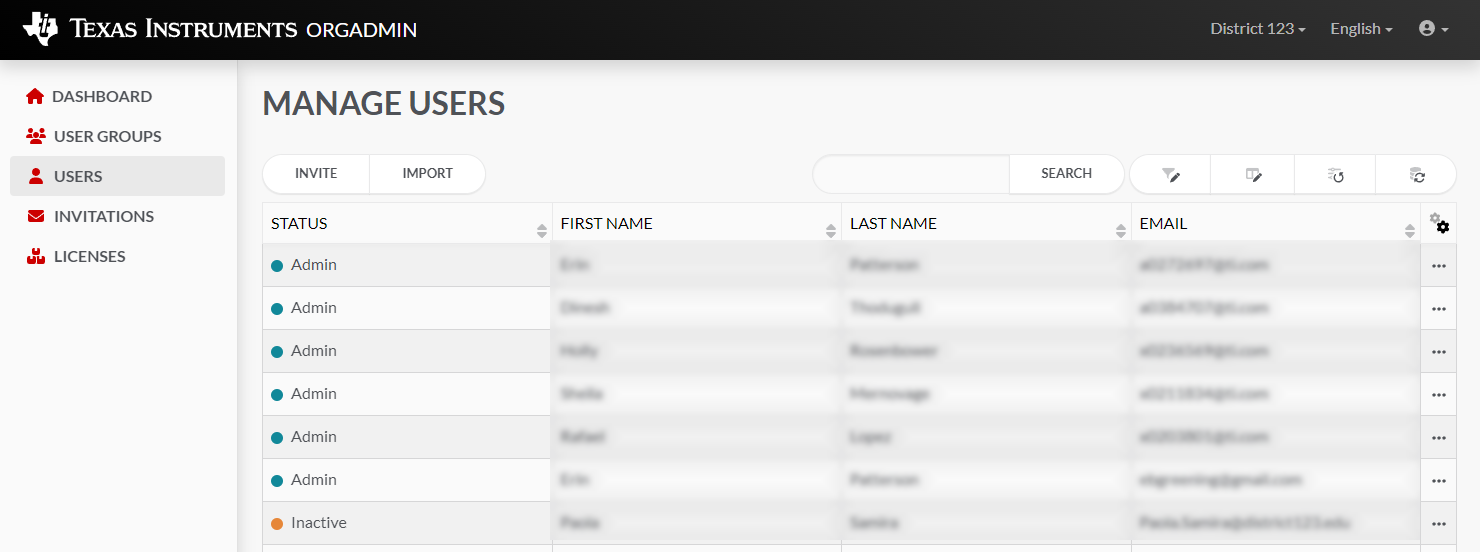
After importing, all new users will be displayed in the Manage Users screen.
At this point the license is assigned to the user and their designated group(s).
Managing Users
Additional Options
There are additional options to each entry in Users.
From the USERS tab on the TI's OrgAdmin Dashboard, you can choose Profile Details, Groups, Licenses, Assign Admin access or Unassign Admin access and Remove from organization by selecting  .
.
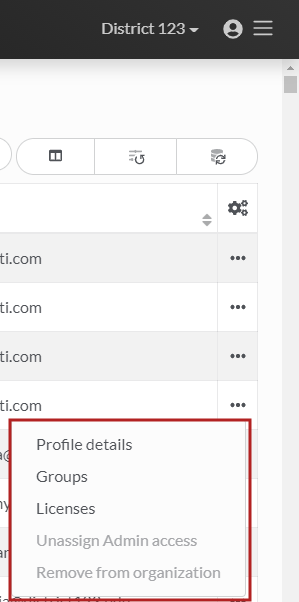
Select from the ellipses, :
| • | Profile Details - option to view profile details of a user. |
|
|
|

| • | Groups - option to view any group a user is assigned to or to assign a user to additional groups. |
|
|
|

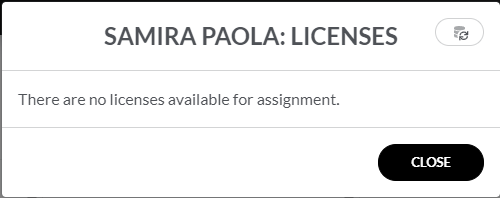
| • | Licenses - option to view a user's active license or a user's inactive license. |
|
Active License
|
Inactive License
|

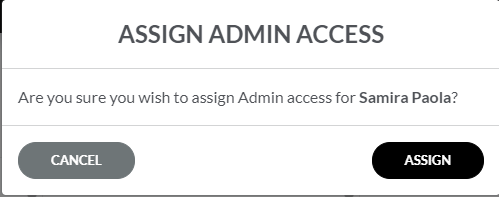
| • | Assign Admin access - option to assign a user administrative access. |
|
|
|
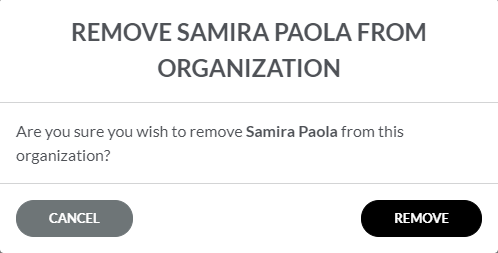
| • | Remove from organization - option to remove a user from a group (organization) |
|
|
|