USER GROUPS
Creating User Groups can be done before or after importing users. The administrator can create user groups based on subject, class room, grade level, or other as needed. Creating different user groups makes it easier to assign permissions to licenses.
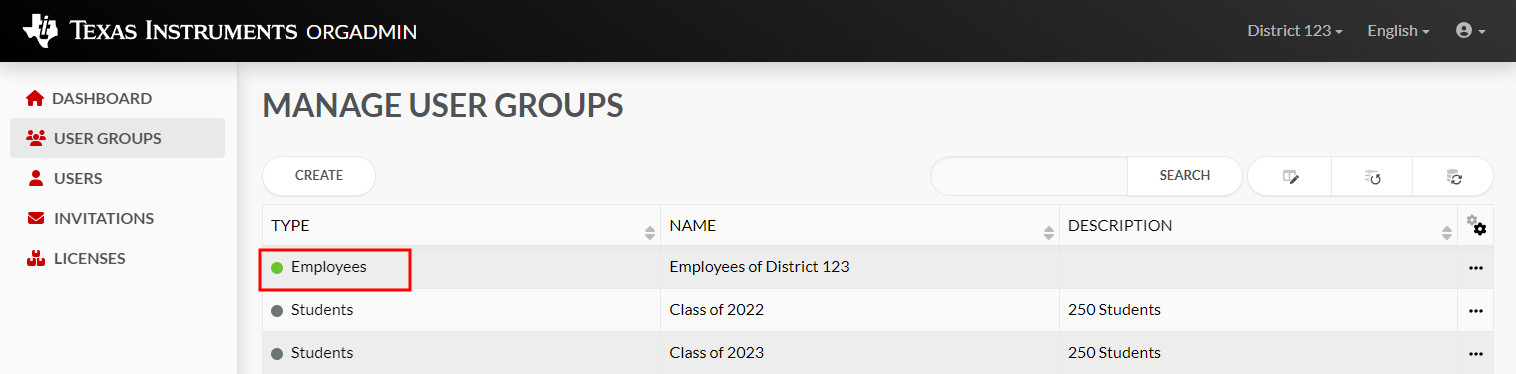
Note: The user group type employees is a great group to use for those IT staff members that don’t need a license assigned to them, but do need the permissions to manage licenses for the organization.
| • | USER GROUPS - shows the total number of existing groups. |
| - | Create different user groups to make it easier to assign permissions to licenses. |
| - | Items may be grouped by subject, classroom, grade level, school. |
Creating User Groups
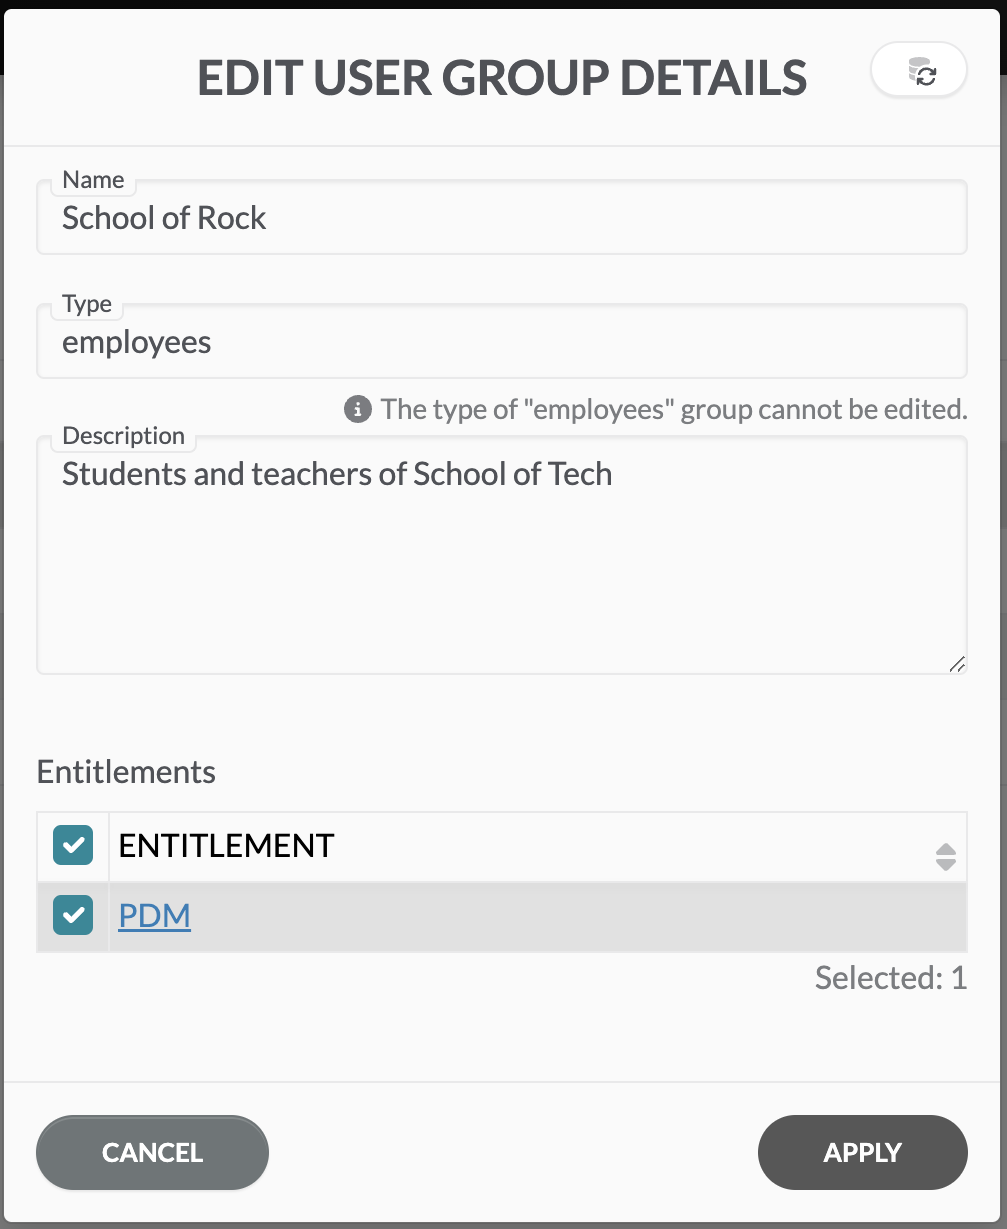
Selecting the Create button opens the CREATE USER GROUP dialog box. Enter the following information:
| • | Name |
| • | Type |
| • | Description |
| • | Entitlements |
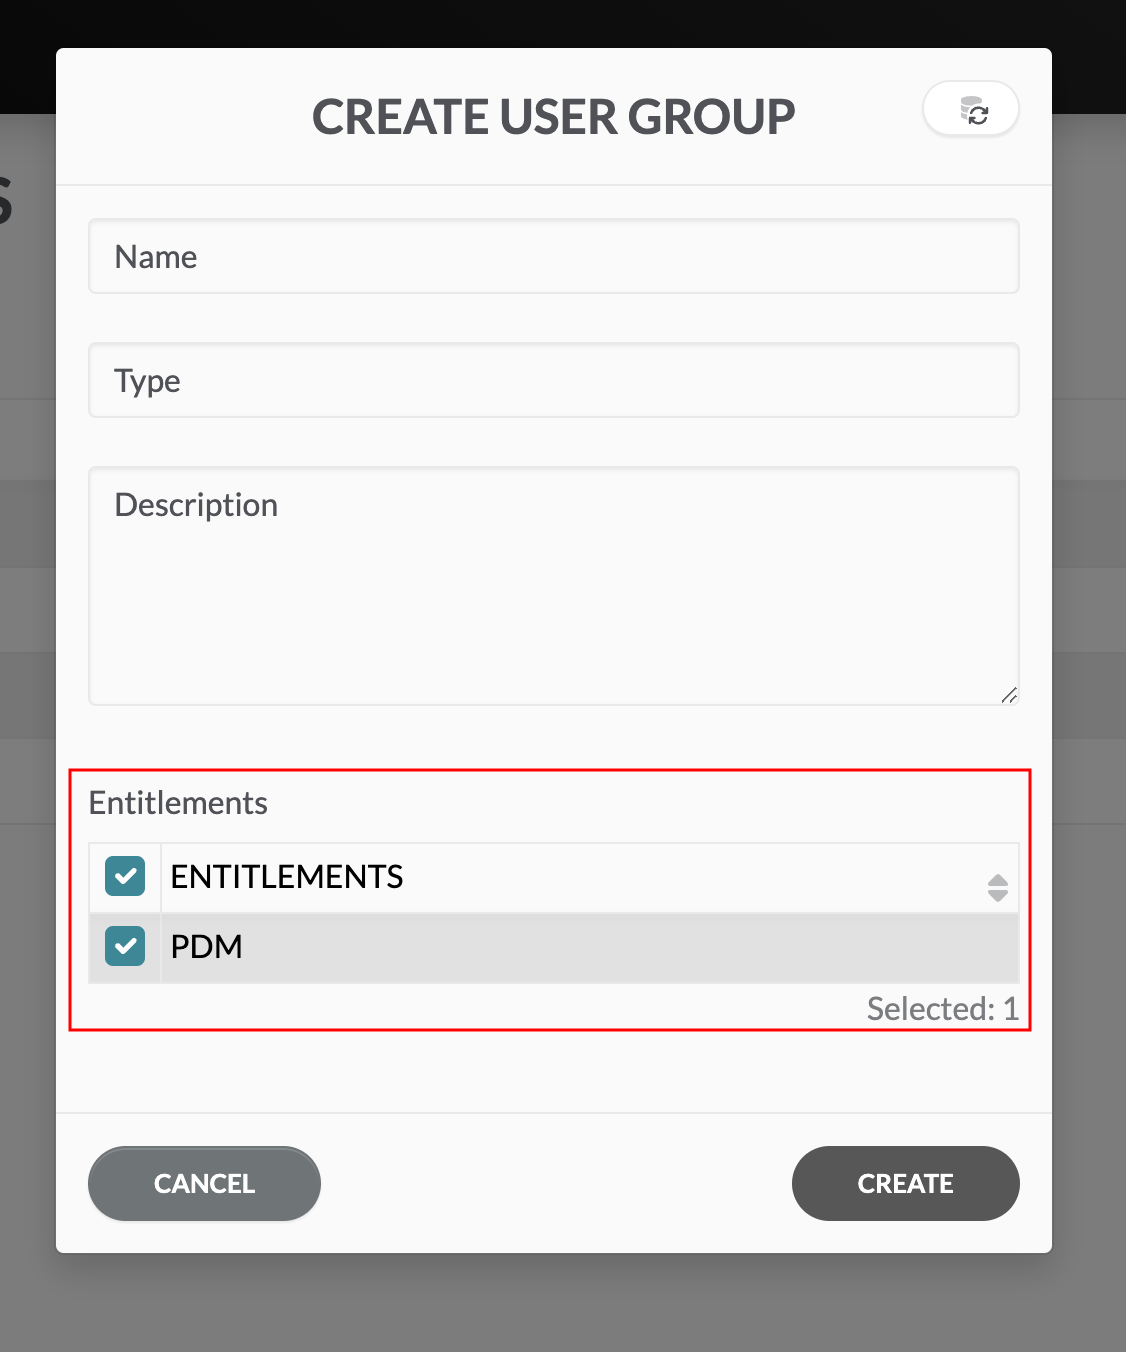
Note: After you have entered the information for the user group, you can select what license/entitlement should be assigned to the group. If you have made only one purchase, you will just see one option. If you have multiple licenses, the entitlement name is helpful to tell the difference between them. The entitlement name format is <Start date><Product name><Duration>.
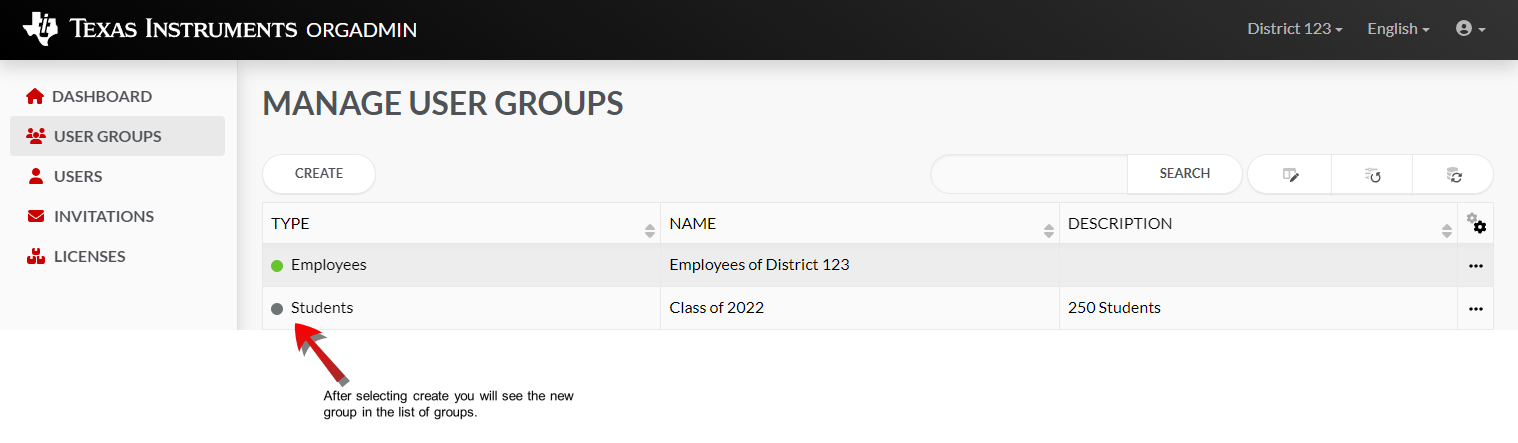
Select CREATE to complete.
Managing User Groups
Additional Options
There are additional options to each entry in User Groups.
From the USER GROUPS tab on the TI's OrgAdmin Dashboard, you can choose View details, Members, Remove, or Send Invite by selecting  .
.

Select from the ellipses, :
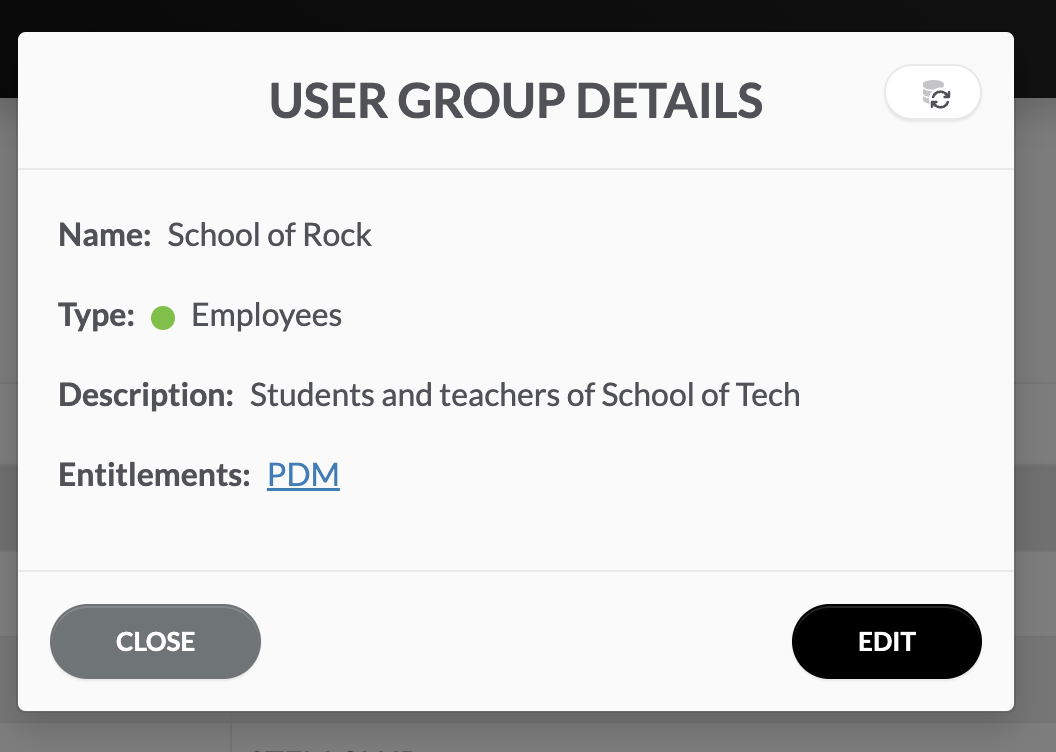
| • | View details - option to view or edit group details |
|
|
|
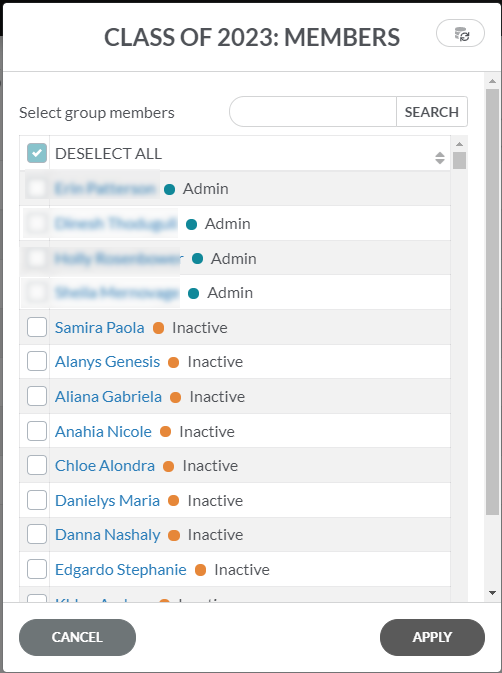
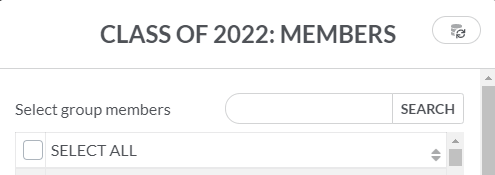
| • | Members - options to view members of group(s) |
Note: When viewing "Members" all members in the organization are shown. The ones with the check boxes are the ones that belong to the particular group whose name is displayed at the top of the dialog.
|
|
SELECT ALL
DESELECT ALL
|

| • | Remove - option to remove a whole user group. This option is useful if you have a lot of changes to make for the user group and want to re-import the |
|
|
|

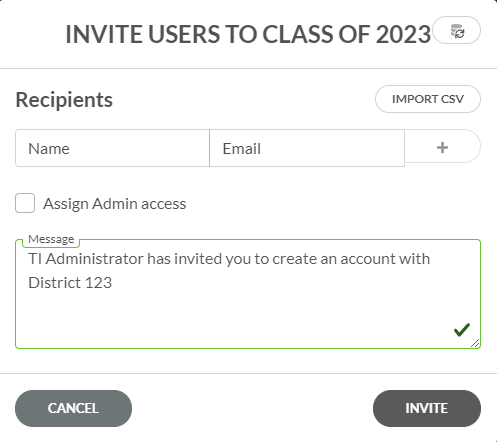
| • | Send Invite - option to send email invitations to members who are to be included in a group. |
|
|
|