Collecting Data Using a Remote Collection Unit
To collect information from a sensor while it is disconnected, you can set it up as a remote sensor. Only the TI-Nspire™ Lab Cradle, TI CBR 2™, and Vernier Go!Motion® support remote data collection.
You can set up a remote collection unit to start collecting:
|
•
|
When you press a manual trigger on the unit, as on the TI-Nspire™ Lab Cradle |
|
•
|
When a delay countdown expires on a unit that supports a delayed start |
Setting Up for Remote Collection
|
1.
|
Save and close any open documents, and start with a new document. |
|
2.
|
Connect the remote collection unit to the computer or handheld. |
|
4.
|
Click the Collection Setup button  . . |
|
5.
|
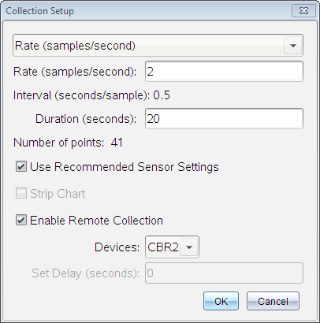
On the Collection Setup screen, check . |
|
6.
|
Select the remote collection unit from the list. |
|
7.
|
Specify the method for starting the collection: |
|
•
|
To start automatically after a specified delay (on supported units), type the delay value. |
|
•
|
To start when you press the manual trigger (on supported units), type a delay value of . When you use a delay, the manual trigger button on the TI-Nspire™ Lab Cradle has no effect on the start of the collection. |
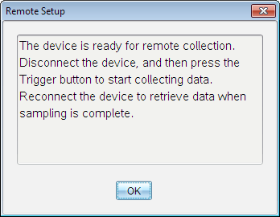
A message confirms that the unit is ready.
Depending on the device, LED lights may indicate its status.
Red. The system is not ready.
Amber. The system is ready but not collecting data.
Green. The system is collecting data.
|
10.
|
If you are starting collection manually, press the trigger when ready. If you are starting based on a delay, the collection will start automatically when the countdown is complete. |
Retrieving the Remote Data
After collecting data remotely, you transfer it to the computer or handheld for analysis.
|
1.
|
Open the Vernier DataQuest™ application. |
|
2.
|
Attach the TI-Nspire™ Lab Cradle to the handheld or computer. |
The Remote Data Detected dialog box opens.
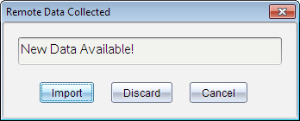
The data transfers to the Vernier DataQuest™ application.