
When the Class Network Name dialog box opens, complete the following steps to name your class network.
| 1. | Type the name you want to assign to the class network in the TI‑NAV‑N field. |
Use a name that is unique, easy to remember, and easy for you to identify. The class network name can be up to 22 characters long. Names can consist of letters, numbers, and spaces; but cannot contain special characters such as ? " $ \ ! [ ] +.
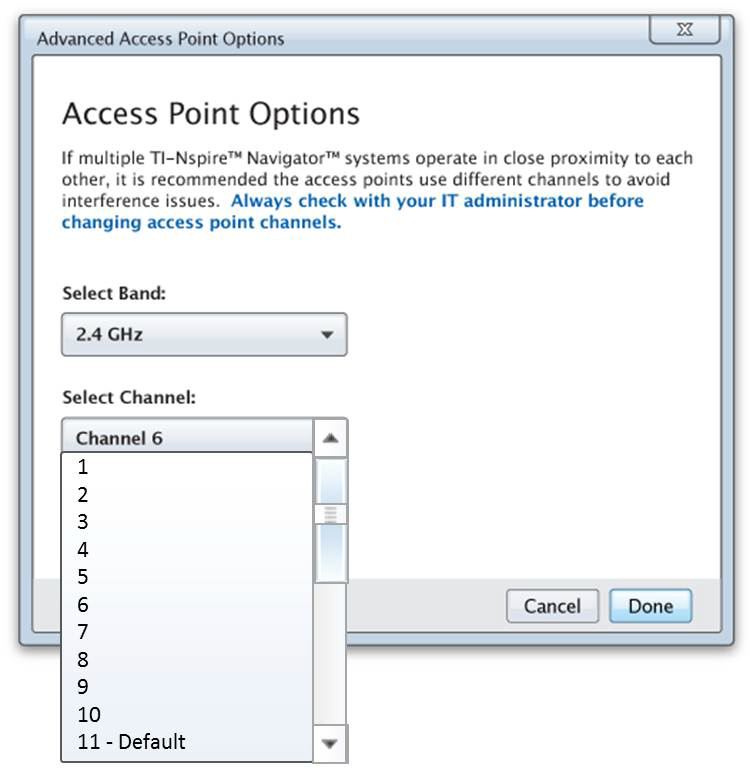
| 2. | Click Next to configure the access point with no changes. —or — Click Advanced to select a different band or operating channel. |
| • | If the TI‑Nspire™ Navigator™ access point 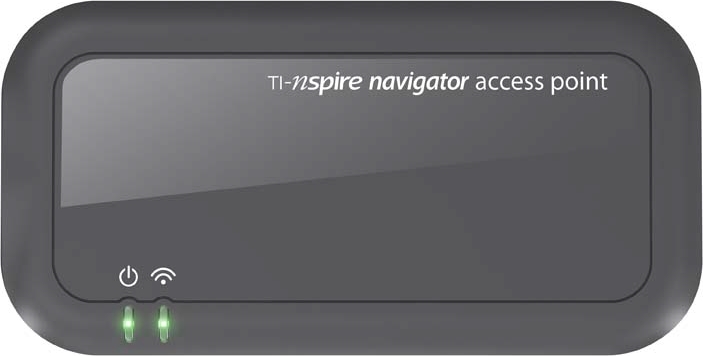 is connected, you can select a different operating channel. is connected, you can select a different operating channel. |
| • | If the TI‑Nspire™ CX Navigator™ access point
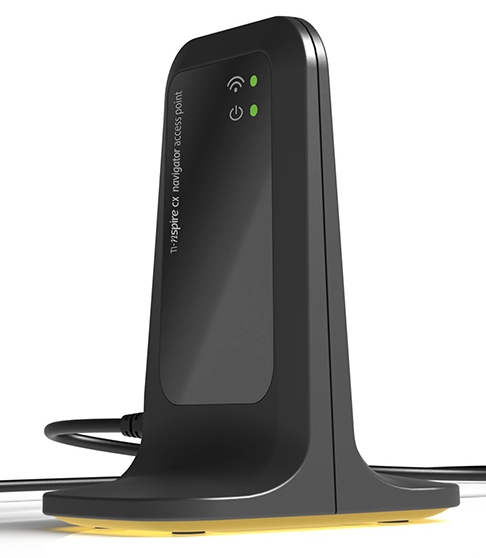 is connected, you can select either a 2.4GHz band or 5GHz band, and you can select a different operating channel. is connected, you can select either a 2.4GHz band or 5GHz band, and you can select a different operating channel. |
Note: Operating channels available for selection are determined by the installed software version.
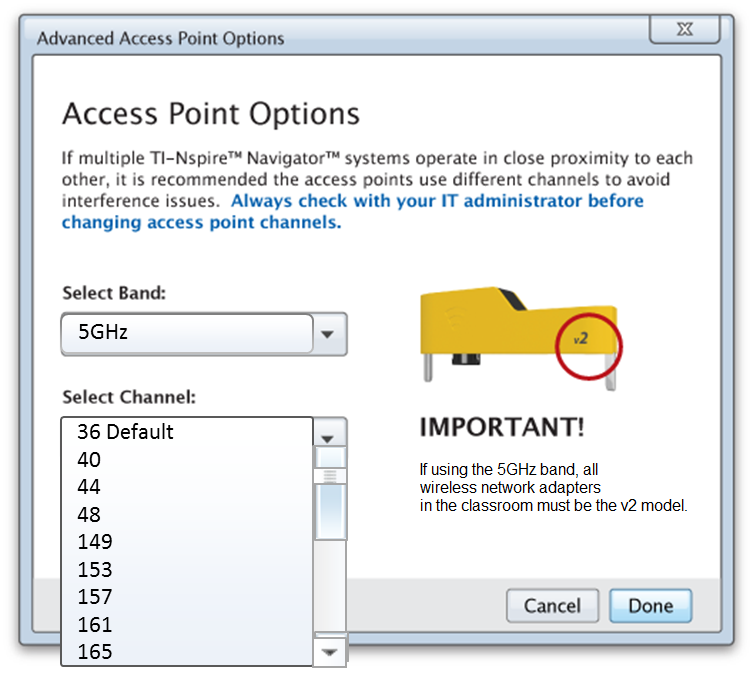
Important! If you are using the TI‑Nspire™ CX Wireless Network Adapter – v2 adapters, you can select either the 2.4GHz or 5GHz band. If you have a mixture of wireless network adapters, you must select the 2.4GHz band.
| 3. | Click Done. |
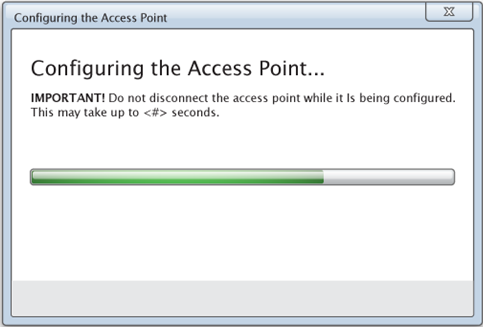
The Configuring the Access Point dialog box opens and the software configures the access point and applies the class network name.
Important! Do not disconnect the access point while it is being configured.
When the configuration process is complete, you can associate your wireless clients.