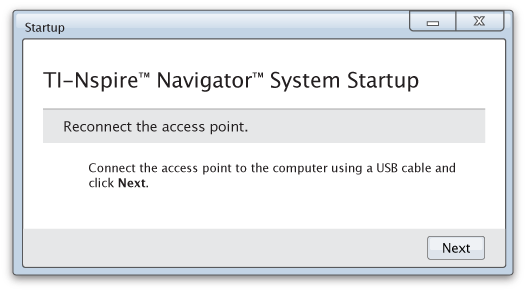
When the operating system update on all handhelds is complete, the next step in the system startup process is to connect the access point. When you connect the access point to your computer, it is powered on and ready to communicate with wireless network adapters and cradles.
| 1. | Connect the access point to the computer using a USB cable. |
| a) | Connect the small end of the USB cable to the access point. |
Connect the access point directly to your computer. Do not connect the access point to a USB hub or docking station.
| b) | Connect the other end of the cable to the USB port on your computer. |
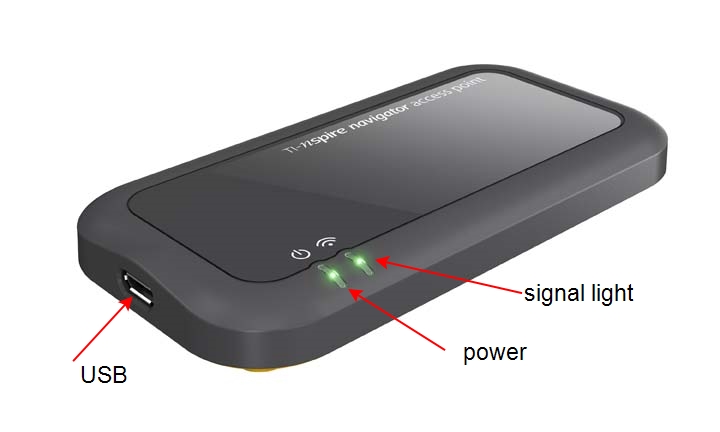
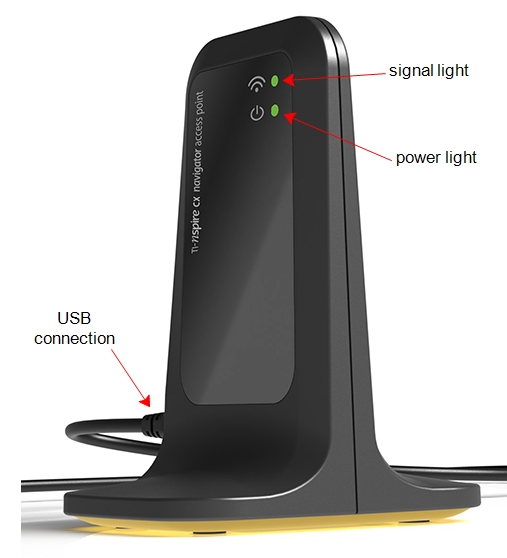
| c) | Make sure the access point power light is on. The power light indicates that the access point is receiving power from the computer. The signal light indicates wireless link activity. |
|
|
|
|
TI‑Nspire™ Navigator™ access point |
TI‑Nspire™ CX Navigator™ access point |
Note: If the software does not detect a connected access point within one minute, an error message is displayed. Close the error message, and then disconnect and reconnect the access point.
| 2. | Click Next. |
The software detects the access point type and checks the firmware version on the access point. If a newer firmware version is available, the software updates the firmware.
Note: It may take up to 60 seconds for the software to detect the access point.
Important! Do not stop the update process or disconnect the access point until the firmware update is complete.
When the update is complete, the software checks the access point for a configured classroom network.
| • | If a classroom network exists, the software reminds you that you can keep the current setup or make changes. |

| • | If no classroom network exists, the software guides you through the Class Network Setup wizard. |
| 3. | Select Back up my class network to save a copy of your classroom network configuration. |
The saved network information includes the list of wireless client IDs, the network name, and the channel and country selected on the access point.
Saving a network enables you to reload the configuration at a later time using the Network Manager. By default, the file is saved in the My Documents/TI‑Nspire/Navigator Network folder.
To finish without saving a backup copy, select Skip backup.
| 4. | Click Finish to complete the setup. |
Note: You can set up a network at any time, or make edits to an existing network, by using the Network Manager.
If the firmware update fails, the OS Warning dialog box opens.
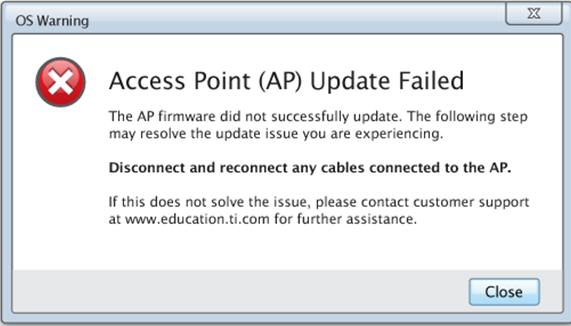
To resolve the problem, disconnect and reconnect any cables connected to the access point, and the software will automatically start the update process. If this does not resolve the issue, contact Customer Support.