Before you use the TI‑Nspire™ Navigator™ Teacher Software with handhelds, make sure you have the latest operating system installed on all of the handhelds for the software to work properly.
You can use the TI‑Nspire™ Navigator™ Teacher Software to update the handheld operating system.
Note: After you install the latest OS on one handheld, you can use that handheld to install the OS on other handhelds.
| 1. | Connect a TI‑Nspire™ handheld to your computer. |
| 2. | Show all connected handhelds. |
| • | In the Content Workspace, click Connected Handhelds in the Resources pane. |
| • | In the Documents Workspace, open the Content Explorer and click Connected Handhelds. |
| 3. | Click the handheld you want to update. |
| 4. | Click Help > Check for Handheld/Lab Cradle OS Update. |
The Check for Handheld/Lab Cradle OS Update dialog box opens.
| 5. | Click Install OS on my handheld. |
You can also save a copy of the OS file on your computer by clicking the Save a copy of the OS to check box. Click Browse to navigate to the location wherer you want to save the handheld OS if different from the default location.
| 6. | Click Continue. |
| 7. | Accept the license agreement and click Continue. |
TI‑Nspire™ Navigator™ Teacher Software displays a message box warning you that any unsaved data will be lost. Click Yes to continue.
The Installing OS dialog box opens, showing the status of the installation.
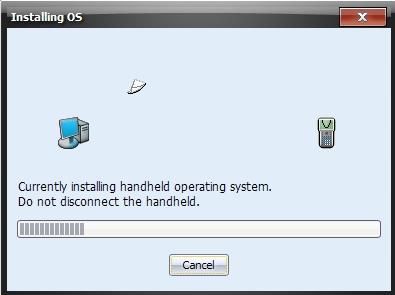
| 8. | When the operating system software has transferred to your TI‑Nspire™ handheld, click OK. You may now disconnect the handheld from the computer, and the operating system software will install itself onto the handheld. |