As you create an object, a tool appears in the work area (for example, Segment  ). To cancel, press ESC. To enable automatic labeling of certain objects, see What You Must Know in this chapter.
| 1. | From the Points and Lines menu, select Point. (In the Graphs application, click Geometry > Points and Lines > Point.) |
| 2. | Click a location to create the point. |
| 3. | (Optional) Label the point. |
| 4. | To move a point, drag it. |
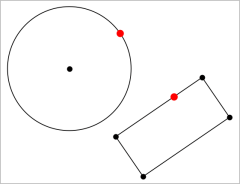
You can create a point on a line, segment, ray, axis, vector, circle, graph, or axis.
| 1. | From the Points and Lines menu, select Point On. (In the Graphs application, click Geometry > Points and Lines > Point On.) |
| 2. | Click the graph or object on which you want to create the point. |
| 3. | Click a location on the object to place the point. |
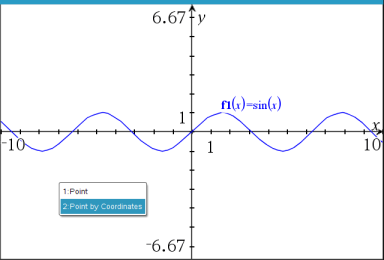
You can create a dynamic point on a graph with Point by Coordinates.
| 1. | From the Points and Lines menu, select Point by Coordinates. (In the Graphs application, click Geometry > Points and Lines > Point by Coordinates or press P and select Point by Coordinates). |
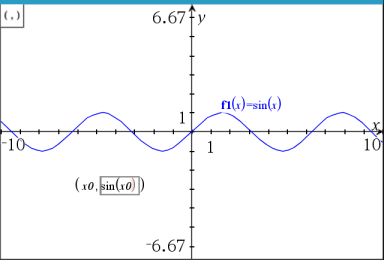
| 2. | Enter the variables or expressions for one or both of the coordinates. |
| 3. | Use the slider that is created to move the point on the graph. |
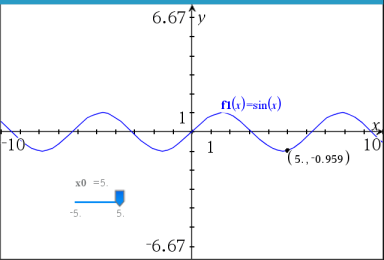
The point will display the actual coordinates. If you hover the cursor over a coordinate, it will display the variable or expression.
To edit the point, double-click the coordinate on the label. Any variable or expression that was entered before is retained.
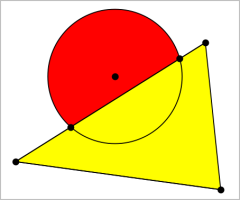
| 1. | From the Points and Lines menu, select Intersection Points. (In the Graphs application, click Geometry > Points and Lines > Intersection Points.) |
| 2. | Click two intersecting objects to add points at their intersections. |
| 1. | From the Points and Lines menu, select Line. (In the Graphs application, click Geometry > Points and Lines > Line.) |
| 2. | Click a location to define one point on the line. |
| 3. | Click a second location to define the direction of the line and the length of its visible portion. |
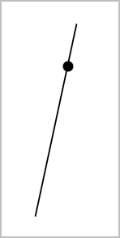
| 4. | To move a line, drag its identifying point. To rotate it, drag any point except the identifying point or ends. To extend its visible portion, drag from either end. |
| 1. | From the Points and Lines menu, select Segment. (In the Graphs application, click Geometry > Points and Lines > Segment.) |
| 2. | Click two locations to define the endpoints of the segment. |
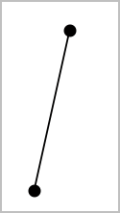
| 3. | To move a segment, drag any point other than an endpoint. To manipulate the direction or length, drag either endpoint. |
| 1. | From the Points and Lines menu, select Ray. (In the Graphs application, click Geometry > Points and Lines > Ray.) |
| 2. | Click a location to define the endpoint of the ray. |
| 3. | Click a second location to define the direction. |
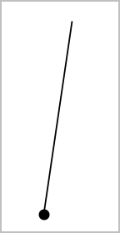
To move a ray, drag its identifying point. To rotate it, drag any point except the identifying point or end. To extend its visible portion, drag from the end.
You can create a tangent line at a specific point on a geometric object or function graph.
| 1. | From the Points and Lines menu, select Tangent. (In the Graphs application, click Geometry > Points and Lines > Tangent.) |
| 2. | Click the object to select it. |
| 3. | Click a location on the object to create the tangent. |
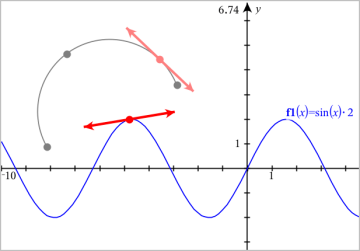
| 4. | To move a tangent, drag it. It remains attached to the object or graph. |
| 1. | From the Points and Lines menu, select Vector. (In the Graphs application, click Geometry > Points and Lines > Vector.) |
| 2. | Click a location to establish the vector's initial point. |
| 3. | Click a second location to specify direction and magnitude and complete the vector. |
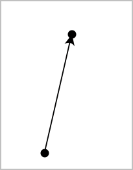
| 4. | To move a vector, drag any point other than the endpoints. To manipulate the magnitude and/or direction, drag either end point. |
Note: If you create an endpoint on an axis or another object, you can move the endpoint only along that object.
| 1. | From the Points and Lines menu, select Circle Arc. (In the Graphs application, click Geometry > Points and Lines > Circle Arc.) |
| 2. | Click a location or point to establish the starting point of the arc. |
| 3. | Click a second point to establish an intermediate point through which the arc will pass. |
| 4. | Click a third point to set the ending point and complete the arc. |
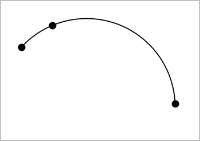
| 5. | To move an arc, drag its perimeter. To manipulate it, drag any of its three defining points. |
 Creating a Point on the Work Area