Note: Most of these instructions apply only to the Teacher Software.
| 1. | In the Teacher Software, go to the TI-Nspire™ File menu and select Document Properties. |
| 2. | Click the Page Size tab. |
| 3. | A checkmark indicates the document's current page size. |
The Teacher Software and Student Software let you view copyright information that has been added to a document.
| 1. | On the TI-Nspire™ File menu, select View Copyright Information. |
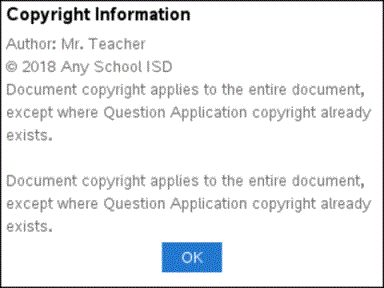
The Copyright Information dialog box opens.

| 2. | Click OK to close the dialog box. |
Using the Teacher Software, you can add copyright information to individual documents that you create, or you can apply the same copyright information to all new documents.
| 1. | Open the document. |
| 2. | On the TI-Nspire™ File menu, select Document Properties. |
| 3. | Click the Copyright tab. |
| 4. | Edit the following fields to define the copyright details: |
| • | Author |
| • | Copyright (select Public Domain or Copyright). |
| • | Year (disabled if you selected Public Domain) |
| • | Owner (disabled if you selected Public Domain) |
| • | Comments |
| 5. | To add the supplied information to all new documents from this point forward, select Apply this copyright to all new documents. |
| 6. | Click OK to apply the copyright information to the document. |
Teachers can protect documents to create a document for distribution to your students or for other use. A student who receives a read-only document and makes changes to it will be prompted to save the document as a new file.
| 1. | Open the document. |
| 2. | On the TI-Nspire™ File menu, select Document Properties. |
| 3. | Click the Protection tab. |
| 4. | Select the Make this document Read Only check box. |
| 5. | Click OK. |
 Checking Page Size