Adding Files to a Lesson Bundle
Use any of the following methods to add files to a lesson bundle:
|
•
|
Drag any file into a selected lesson bundle. This method moves the file to the lesson bundle. If you delete the lesson bundle, the file is deleted from your computer. You can recover the file from the Recycle Bin. |
|
•
|
Copy and paste any file into a selected lesson bundle. |
|
•
|
Use the "Add files to lesson bundle" option. This method copies the selected files into the lesson bundle. The file is not moved from its original location. |
Using the Add Files to Lesson Bundle Option
Use this option to add files to an empty lesson bundle or add more files to an existing lesson bundle.
|
1.
|
Use one of the following options to select the lesson bundle file. |
|
•
|
When working in the Documents Workspace, open the Content Explorer, and then double-click the lesson bundle file name. |
|
•
|
When working in the Content Workspace, double-click the lesson bundle name. |
Note: In the Content Workspace, you can also click the lesson bundle name to open the Files dialog box in the Preview pane. The Add Files to Lesson Bundle option is available from the Files dialog box. If the lesson bundle already contains files, the first file in bundle is shown in the Files dialog box.
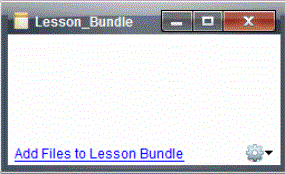
The lesson bundle dialog box opens. The name reflects the name of the lesson bundle.

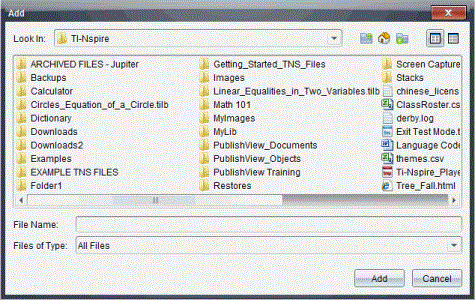
The Add dialog box opens.

|
3.
|
Navigate to and select the file you want to add to the lesson bundle. |
|
•
|
You can select multiple files at one time if they are located in the same folder. |
|
•
|
If files are located in different folders, you can add them one at a time. |
|
•
|
You cannot create a folder within a lesson bundle or add a folder to a lesson bundle. |
|
4.
|
Click to add the file to the bundle. |
The file is added to the bundle and is now listed in the lesson bundle dialog box.
|
5.
|
Repeat this process until all needed files are added to the lesson bundle. |

