| ▶ | Display the context menu for the work area, and then click Background Color. |
| ▶ | From the View menu, click the item to show or hide. You can choose items such as the 3D box, axes, box end values, and legend. |
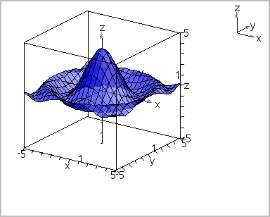
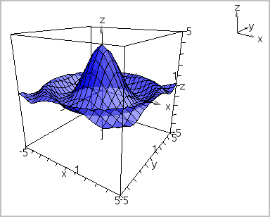
| ▶ | From the View menu, click Orthographic Projection or Perspective View. |
|
|
|
| 1. | Display the context menu for the box, and then click Attributes. You can set the following attributes. |
| - | Show or hide tic labels |
| - | Show or hide end values |
| - | Show or hide arrows on axes |
| - | Show 3D or 2D arrow heads |
| 2. | Set the attributes as you like, and then press Enter to accept the changes. |
| ▶ | From the Range/Zoom menu, click Shrink Box or Magnify Box. |
| 1. | From the Range/Zoom menu, click Aspect Ratio. |
| 2. | Enter values for the x, y, and z axes. The default value for each axis is 1. |
| ▶ | On the Range/Zoom menu, click Range Settings. You can set the following parameters. |
| - | XMin (default=-5) XMax (default=5) XScale (default=Auto) You can enter a numeric value. |
| - | YMin (default=-5) YMax (default=5) YScale (default=Auto) You can enter a numeric value. |
| - | ZMin (default=-5) ZMax (default=5) ZScale (default=Auto) You can enter a numeric value. |
| - | eye q¡ (default=35) eye f¡ (default=160) eye distance (default=11) |
 Setting the Background Color
