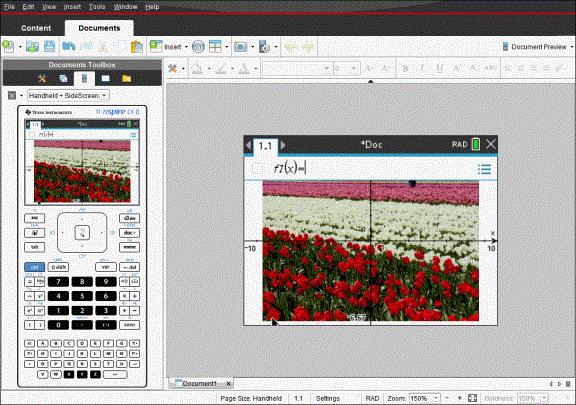
In the Documents Workspace, use the DragScreen feature to capture the emulator screen or side screen when the TI-SmartView™ Emulator is active.
Teachers can use this feature to drag and paste an image to presentation tools such as SMART® Notebook, Promethean’s Flipchart, and Microsoft® Office applications including Word and PowerPoint®.
Capturing Images Using the DragScreen Feature
Complete the following steps to capture an image and copy it to a third-party application.
| 1. | From the Documents Workspace, click |
The TI-SmartView™ Emulator opens.
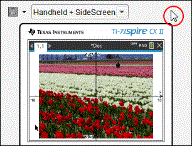
| • | If the display selected is Handheld + SideScreen, the current document is shown in the emulator and in the side screen. |
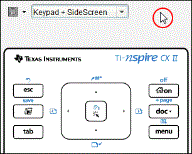
| • | If the display selected is Keypad + SideScreen, the current document is shown in the side screen. |

| 2. | To start the screen capture, click the area above the emulator screen or above the keypad. In the Handheld + Sidescreen display, you can also click the area around the emulator screen. |
Do not release the mouse button. If the cursor is active or if you click inside the emulator window, the screen capture is not started.
|
|
|
|
|
In Handheld + SideScreen view, click the area above the emulator, click the area around the emulator, or click the border of the emulator screen to start the screen capture. |
|
In Keypad + SideScreen view, click the area above the keypad to start the screen capture. |
| 3. | Without releasing the mouse, drag the image. |
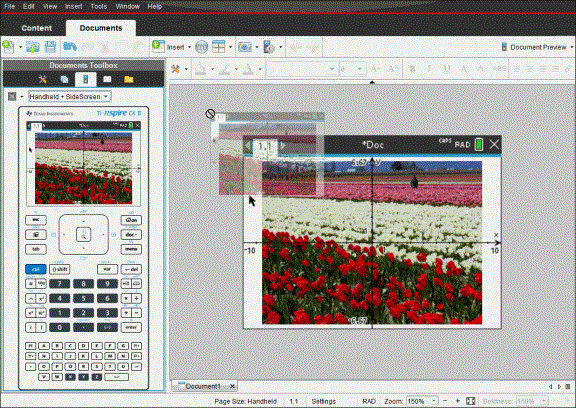
A ghost image of the captured screen opens. The ghost image remains visible until you release the mouse button.
The  in the corner of the ghost image indicates you cannot paste the image in that location.

| 4. | Drag the image to an open third-party application. When the image is on top of the third-party application, the  indicates you can drop the image. indicates you can drop the image. |
| 5. | Release the mouse button to drop the image into the selected application. |
The image is also copied to the Clipboard and to the TI-Nspire™ Screen Capture window.
To view captured images in the Screen Capture window, click Window > Screen Capture Window.
You can capture additional screens as needed. As you capture additional screens, the images are copied to the Screen Capture window, which holds multiple images. The last screen captured replaces the contents of the Clipboard.

