When you save the CE emulator state, a file is created that stores the emulator settings with all of the changes that you have made.
For example, you might want to set up a class presentation by entering functions in the Y= editor and changing Window and Zoom settings. When you save your changes in an emulator state file, you simply load the file to show your presentation. If you want to create different presentations for different classes, you can create multiple emulator state files.
Note: The key press history, screen capture shots, the emulator view, and the emulator size are not saved in the emulator state file. Please take note the CE Emulator state files may be large. Contact your IT department if your storage capacity is an issue.
Saving the CE Emulator State
Managing, saving and loading an emulator state file is only available for the CE emulator. The TI-84 Plus CE Emulator State file can only be loaded on the TI-84 Plus CE emulator.
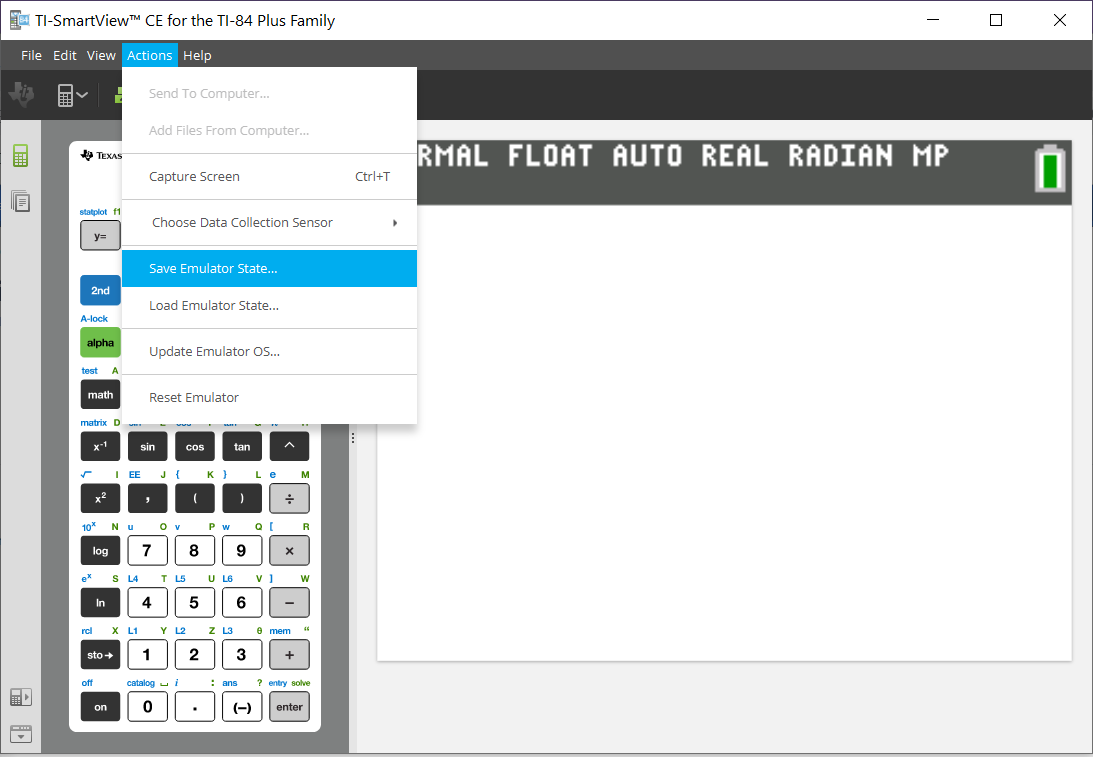
1.
Click Actions > Save Emulator State....
2.
In the dialog box:
a)
Navigate to the folder in which you want to store the CE emulator state file.
b)
Type a file name. Use a name that describes the CE emulator state.
The CE emulator state files will have a pre-configured filename TI84PCE Emulator State_OS x-x-x_date.s84 where the file extension, *.s84 indicates that the file is a TI-84 Plus CE emulator state created by the TI-SmartView™ CE software. A CE emulator state file created in TI-SmartView™ CE v5.6.0 or higher will not load on previous versions of TI-SmartView™ CE.
c)
Click Save.
Loading an CE Emulator State
Because CE emulator state files are specific to each calculator model, you can only load an emulator state file for the active calculator model.
1.
Click Actions > Load Emulator State.
2.
In the dialog box:
a)
Navigate to the folder that contains the emulator state file.
Note: Only the CE emulator state files for the active calculator model will be displayed.