Step 1: Get ready
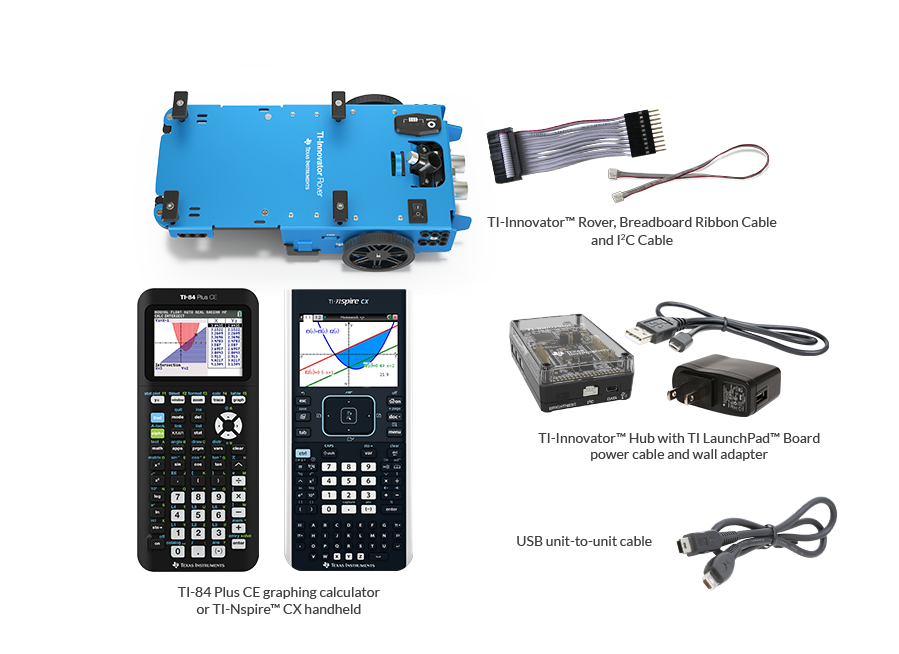
You'll need:
Step 2: Get set
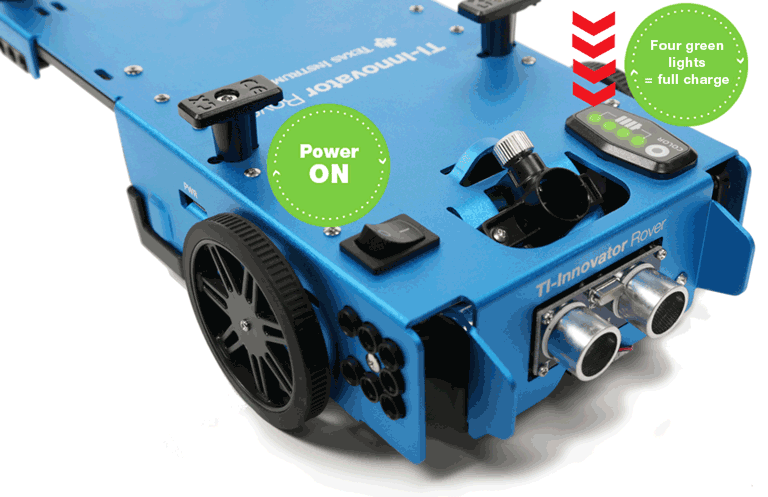
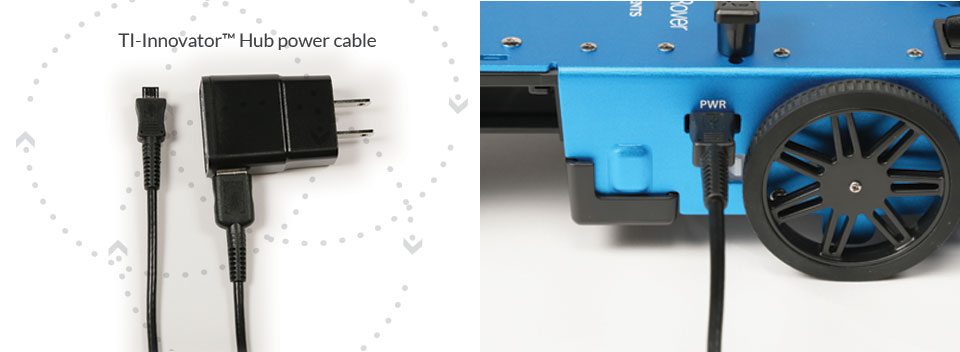
Power Rover on. If the battery is not fully charged, use the Hub power cable.
Check your devices' operating systems.
TI-84 Plus CE graphing calculators require OS version 5.3 or higher
TI-Nspire™ CX handhelds require OS version 4.5 or higher
TI-Innovator™ Hub requires sketch version 1.2 or higher
Step 3: Get connected
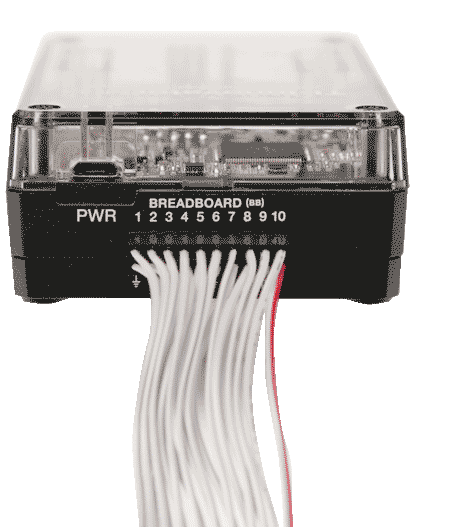
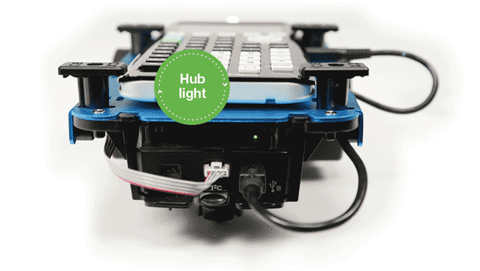
Connect the Breadboard Ribbon Cable to the Hub.
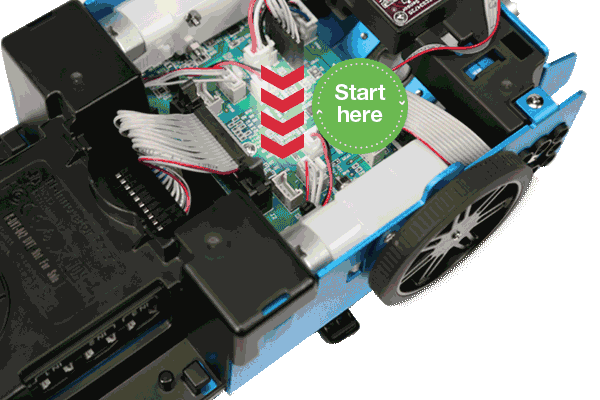
Guide the attached Breadboard Ribbon Cable through the opening at the back of the Rover. Slide the Hub into place. Open the latches on the Rover Circuit Board Ribbon Cable Connector. Make sure the ribbon is not twisted and plug it into the circuit board connector. Close the latches.
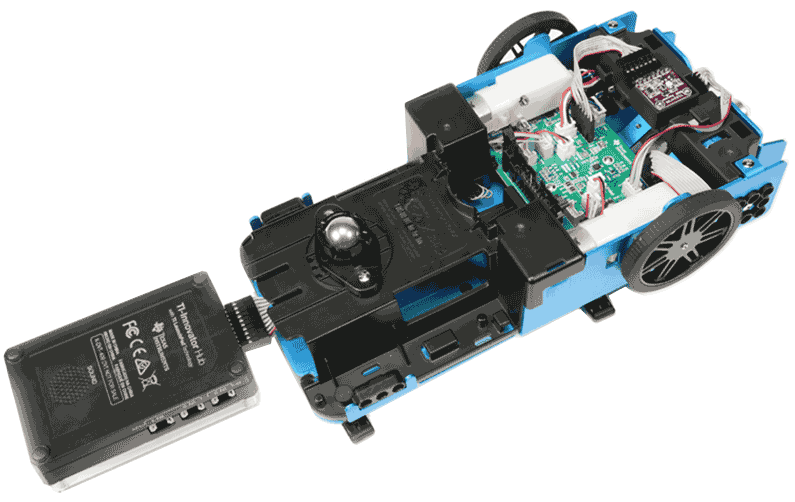
Plug in Rover's I²C cable. Connect it to the Hub I²C port.
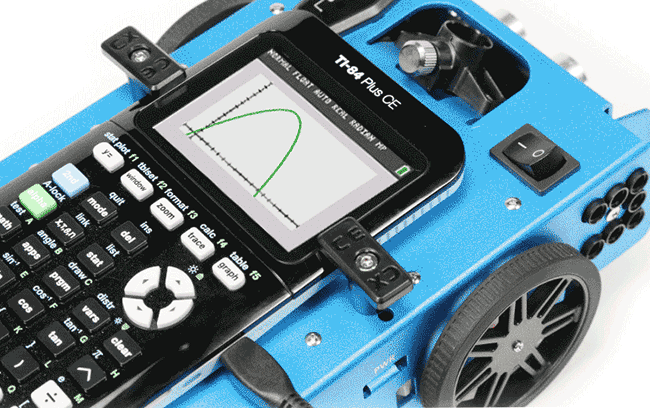
Step 4: Get your calculator
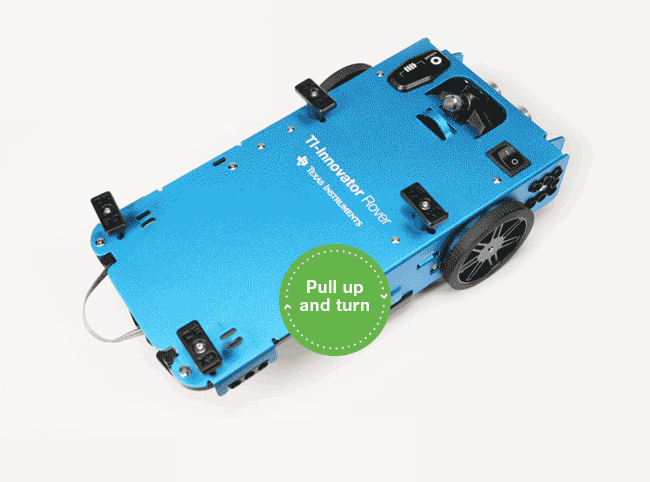
Pull up on the Calculator Holder Pegs and turn to open. Place your TI-84 Plus CE graphing calculator or TI-Nspire™ CX handheld on Rover. Connect the B end of the USB unit-to-unit cable into the DATA port of the Hub. Plug the A end into the USB port of your calculator.
Lift up and turn the pegs so the "CE" or "CX" label matching your calculator faces in.
Step 5: Get going!
Turn on Rover and your calculator. If the connections are correct, these lights will illuminate:
If the lights do not illuminate, ensure that the battery is fully charged and that the cables are fully seated in their ports and secure. For additional assistance, contact TI-Cares™ customer support.
Roll, Rover! Roll!
Download and install the demo program that includes three fun ways to explore Rover's functionality and get rolling.